Silvaire
En-Route
- Joined
- Oct 10, 2012
- Messages
- 4,613
- Display Name
Display name:
Silvaire
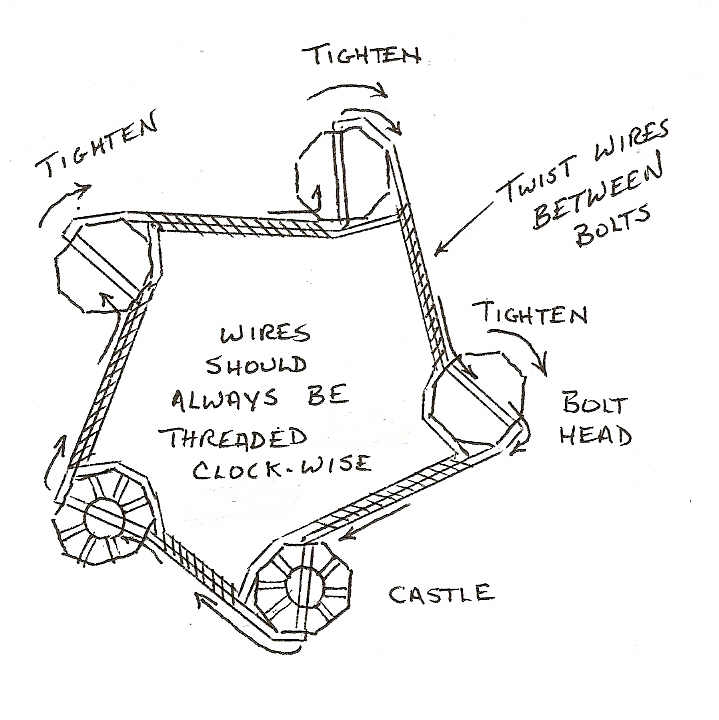
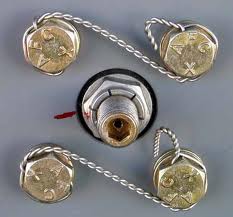
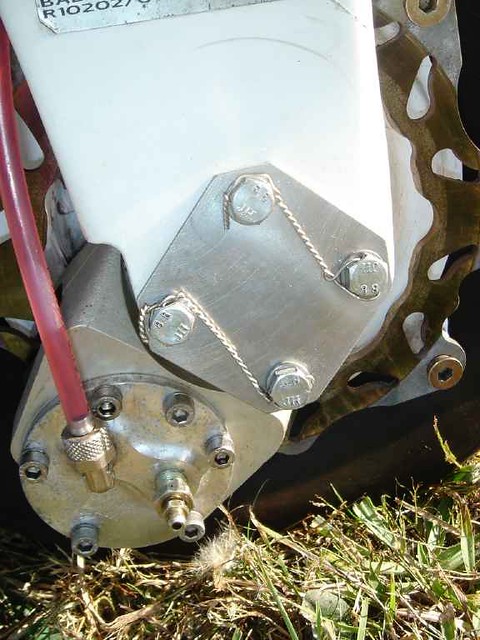
I do. That second from the top bolt gives me the heebie geebies. It is neutral and was wired better when it was single strand. Just sayin.
")
Not to be super critical like everyone else but the purpose of the pigtail is to tuck and place the cut end of the wire against the bolt head so as to make it near impossible to rip your friggin' finger open and bleed all over the component.