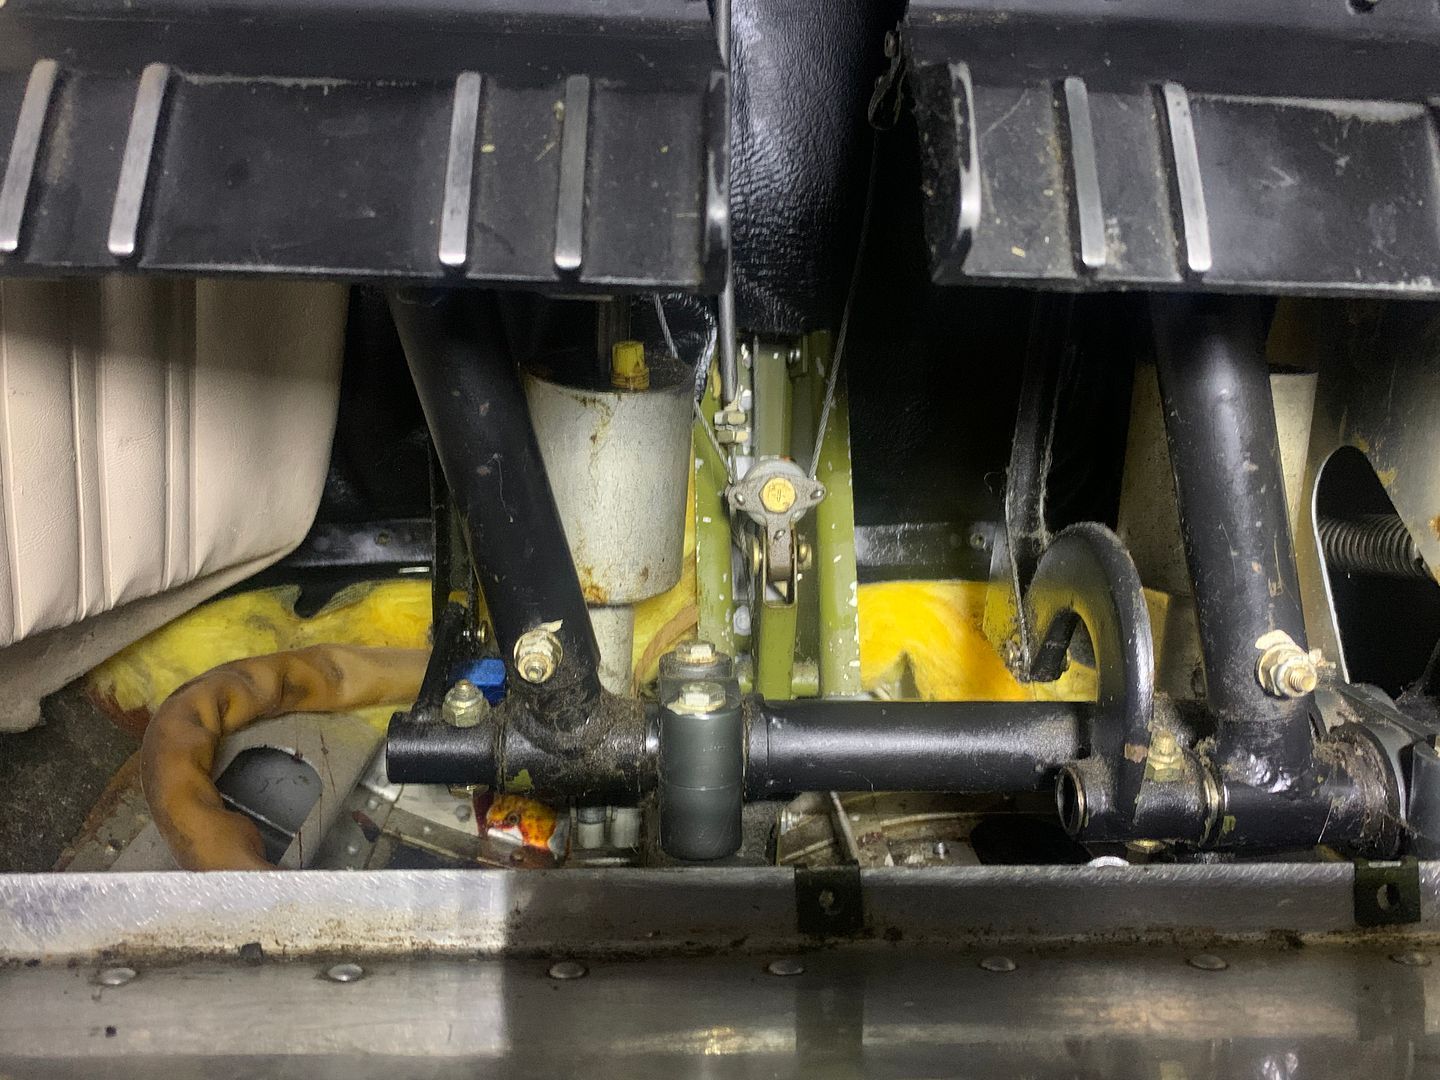
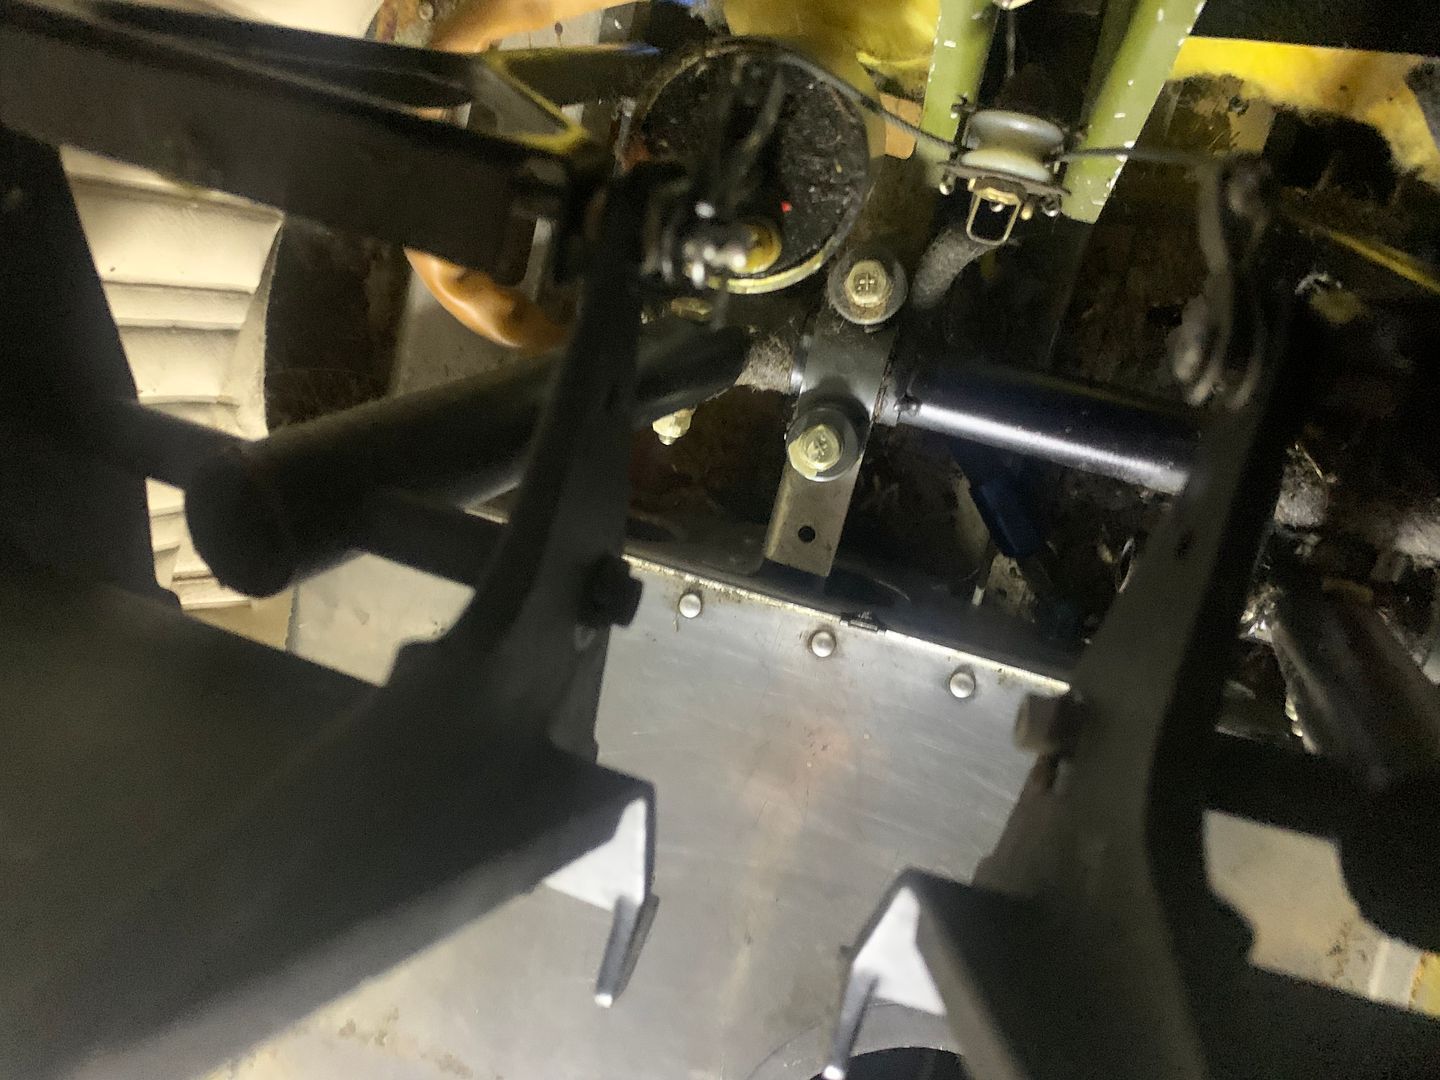
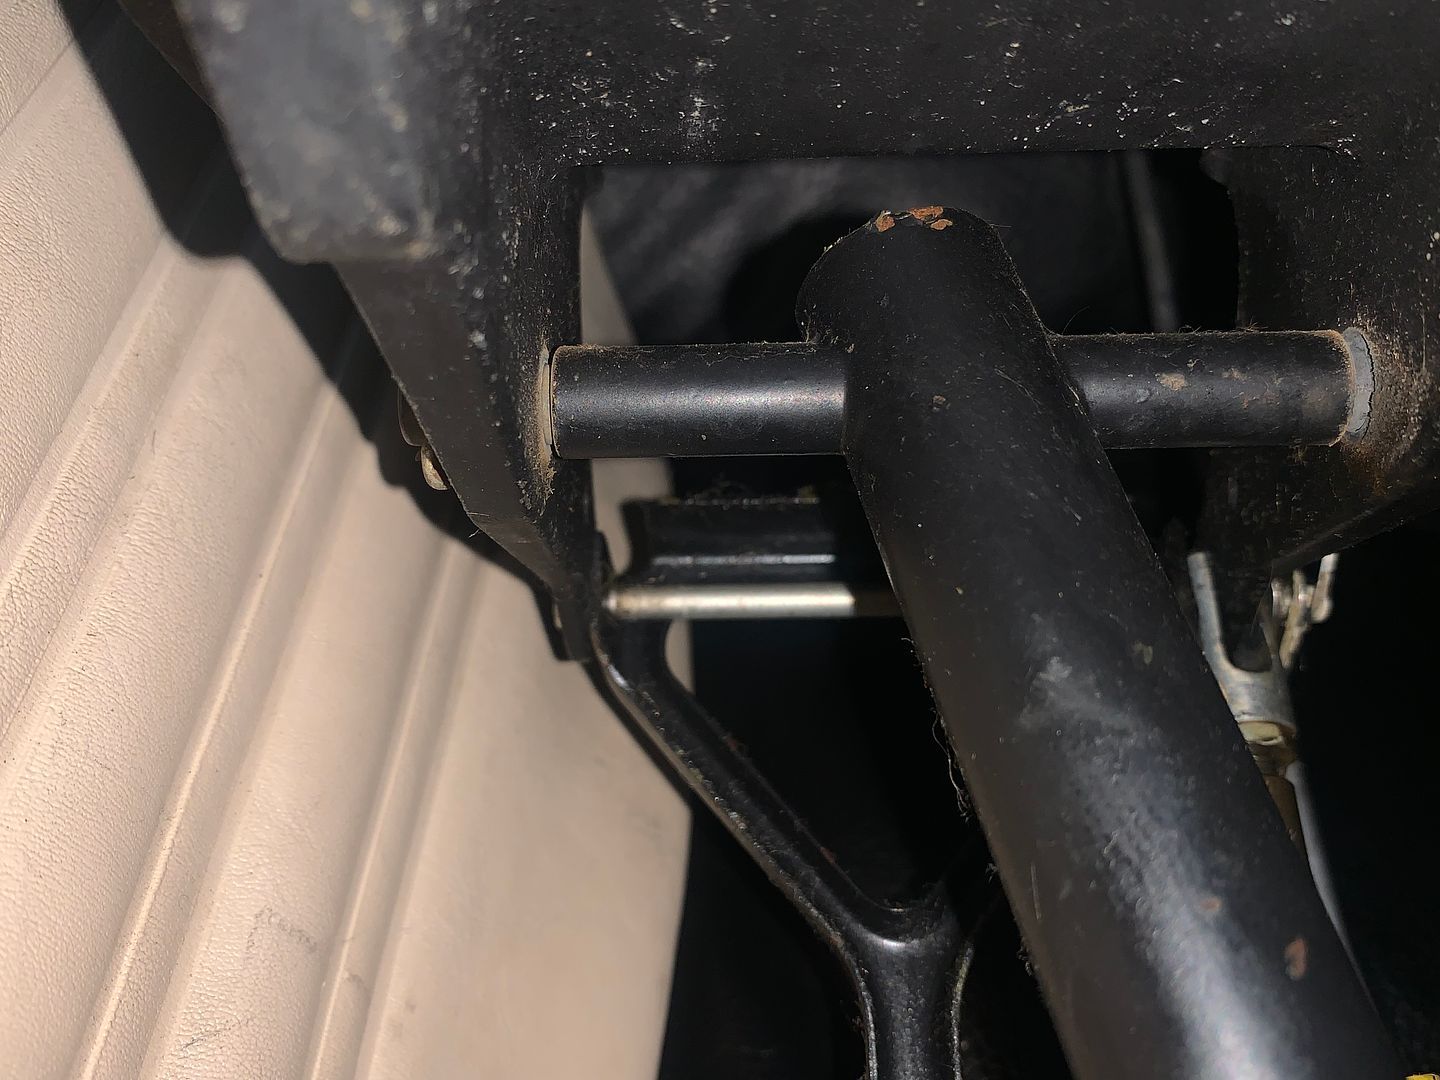
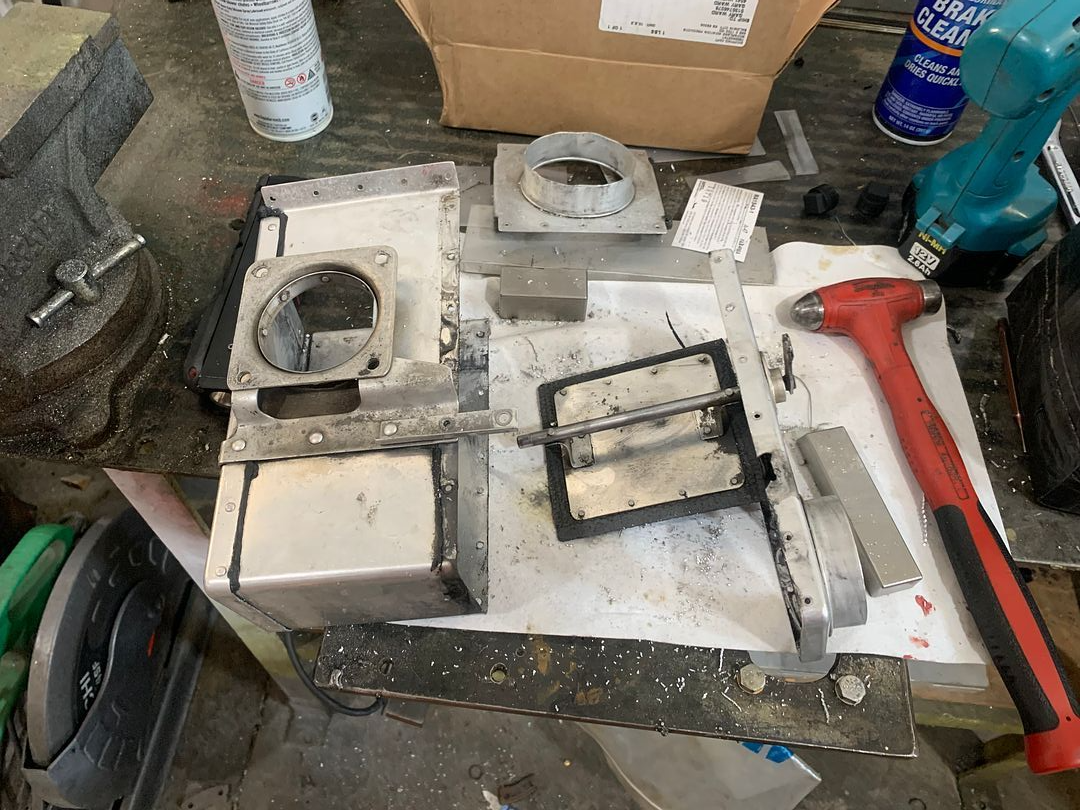
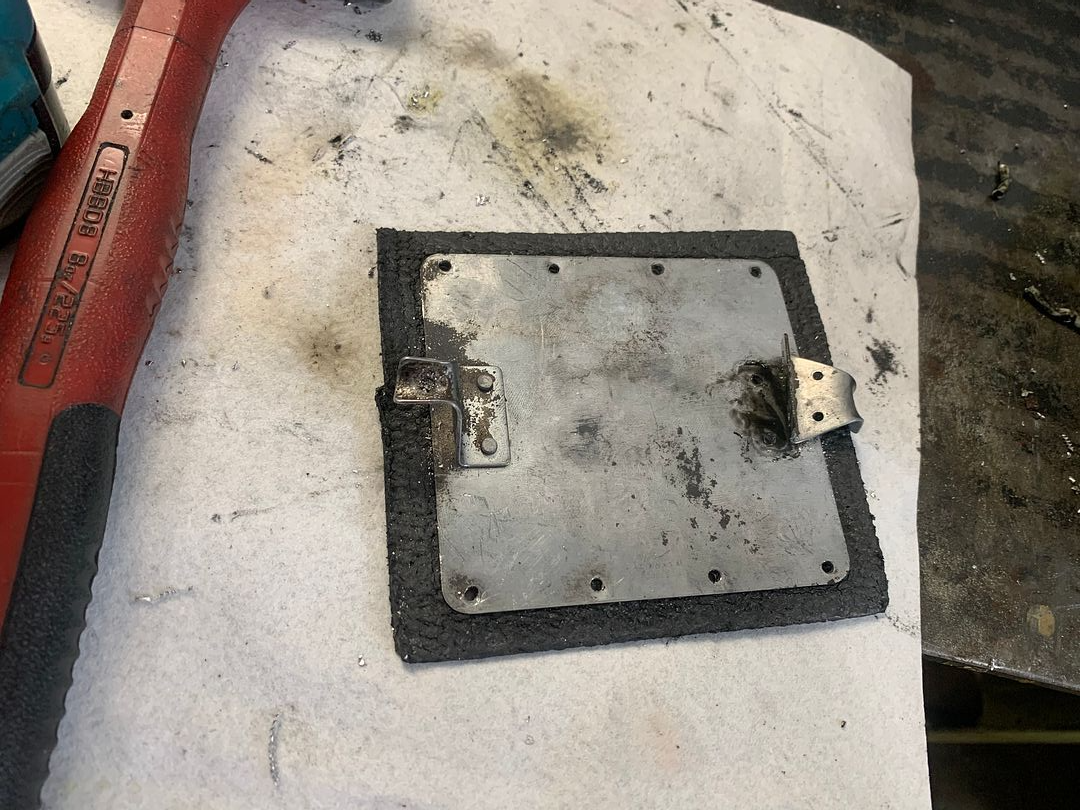
The OP has a 172. There are little inspection covers on each side of the aft flap roller bolts.
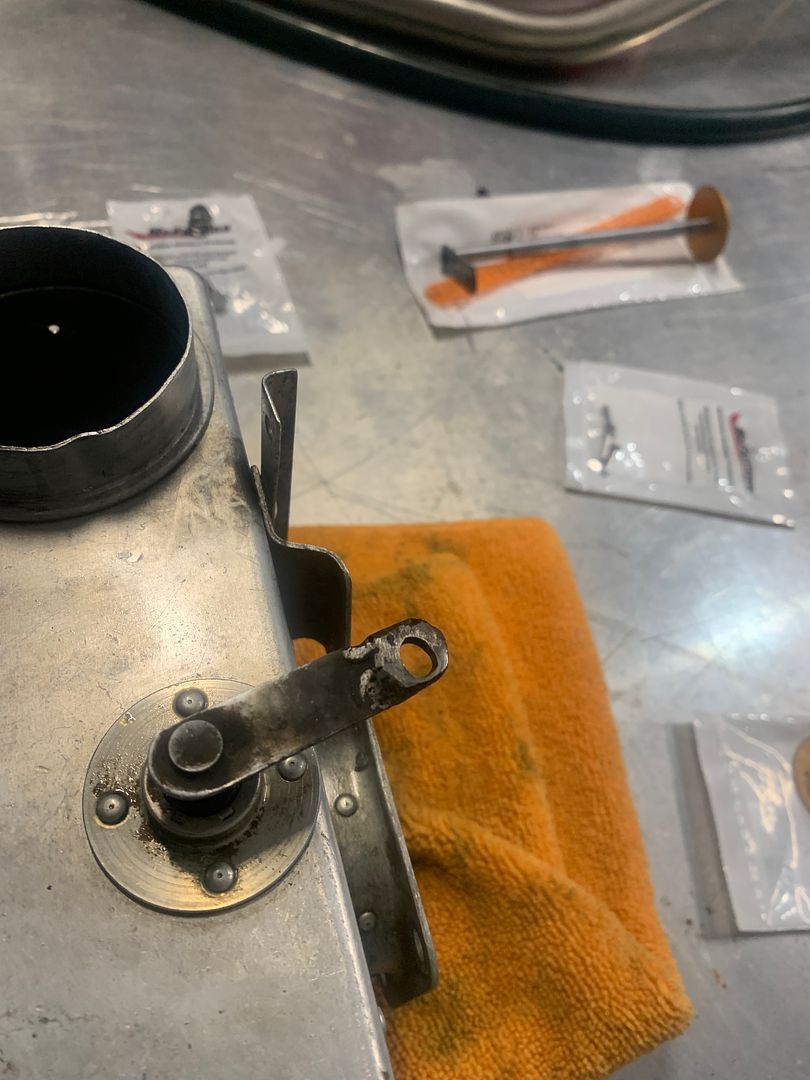
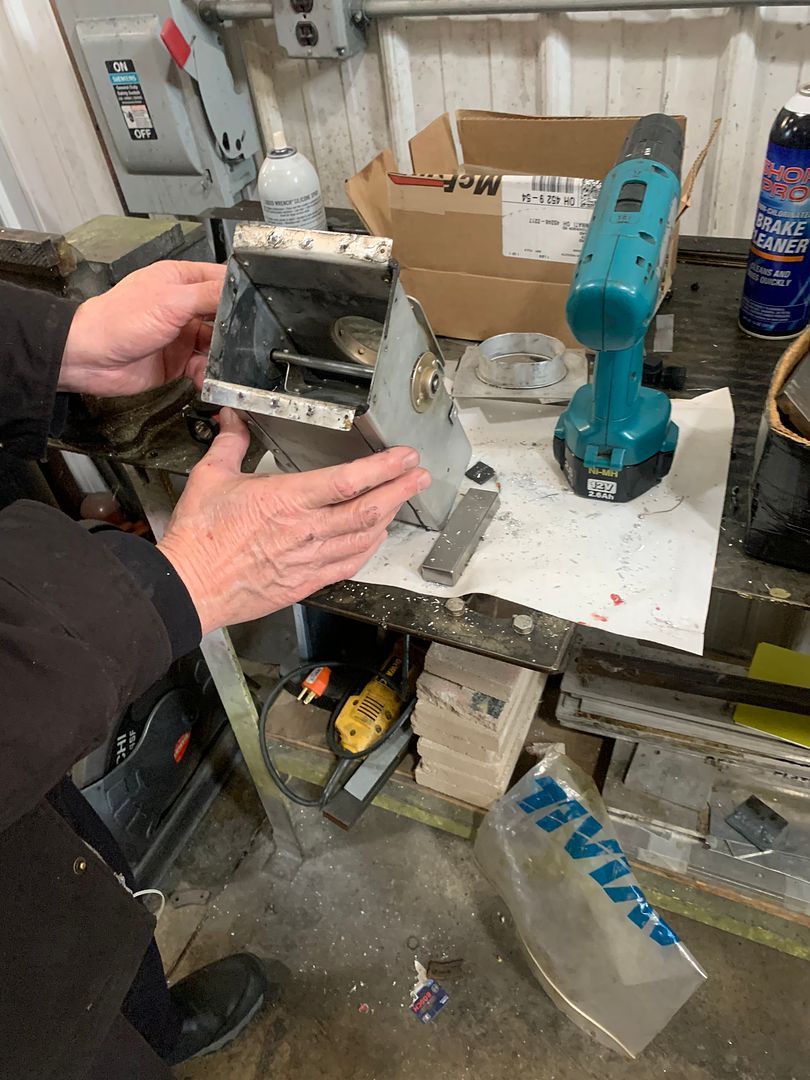
First thing is to make the right tool. Saves much frustration and damage. Grab some .063" aluminum, 5052 in some temper will do, and cut strips 5/8" or 3/4" wide. Drill a hole in one end of one piece, 7/32" diameter, and saw a slot from the end to it. Form it like so, and rivet another piece onto it, with the shape as shown. The bolts are AN3s, so shape the whole thing so that the bolt head is trapped firmly in the end of the tool. The tool is bent with an offset to get at the bolt, and also to allow the bolt to be reinstalled.
View attachment 123123
The other tool that is handy is this one:
View attachment 123124
It's a 1/4" drive ratchet and acts like one, but that red handle on the end drives a shaft up the center of the handle so that the socket can be turned with no handle movement. Good for getting the nuts off the bolts and on again. I think I bought it from Wicks maybe 20 years ago. Use another 1/4" ratchet or flex bar to hold a 3/8" deep socket to keep the bolt head from turning.
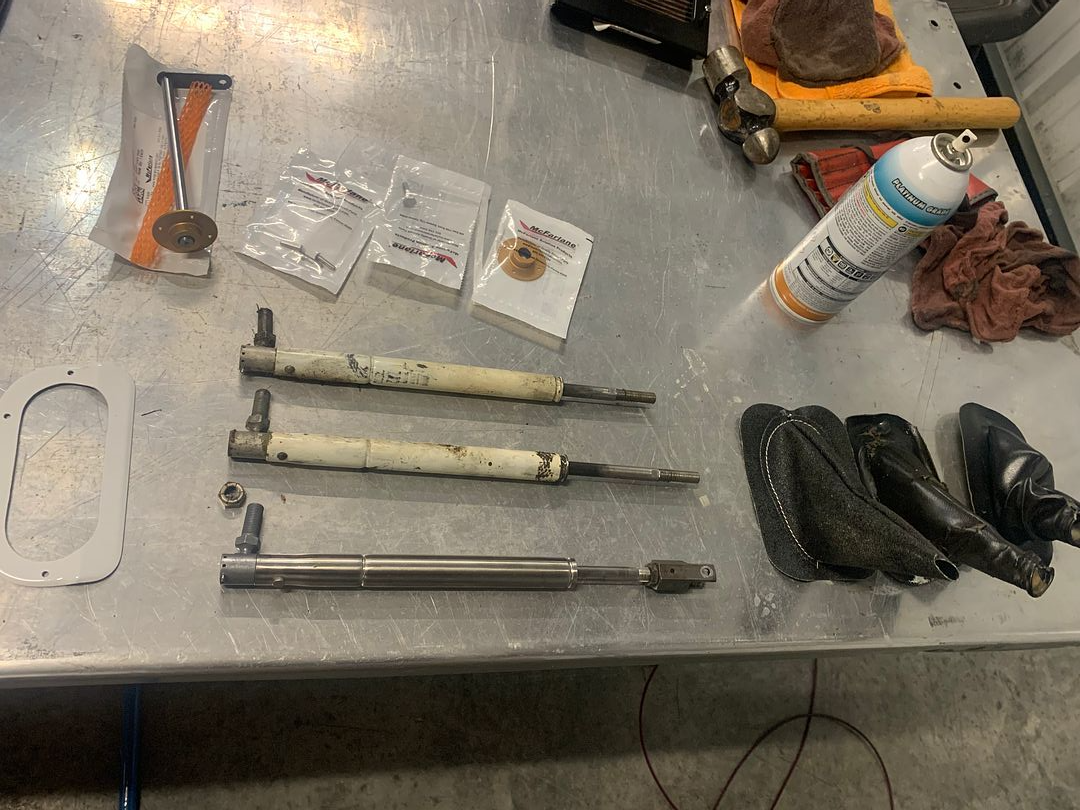
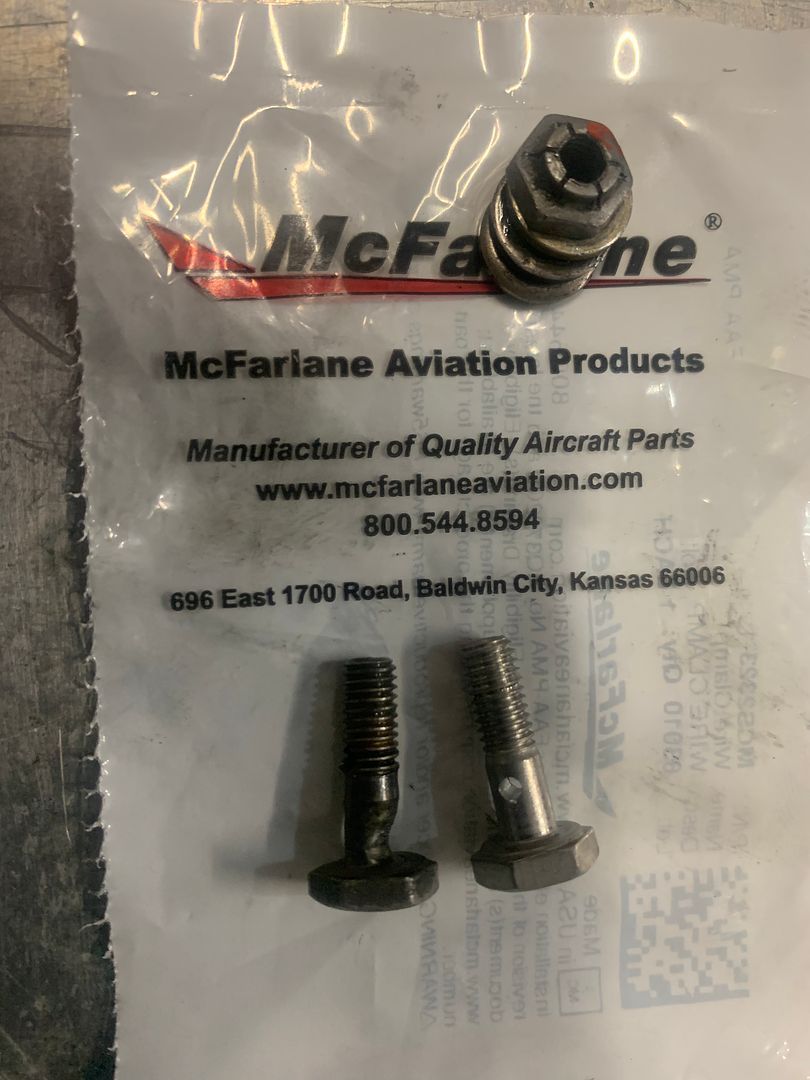
The rollers should be greased with Aeroshell 22 (I think it's now 33). Those rollers are Torrington bearings with a hard steel sleeve pressed over them, and that sleeve can gradually walk sideways and it starts cutting a disc out of the flap arm. If that disc rips out in flight, the flap will cock and jam and tear up the tracks and wing structure. Nasty mess. Best to buy all-new roller kits from McFarlane, which come with shorter rollers and stainless washers to fit on either side of the rollers so that the arms can't get scored. Take this problem seriously. Take the flaps right off for a good look.
https://media.mcfarlaneaviation.com/documents/doc-seb95-3.pdf
Another article:
https://www.cessnaflyer.org/magazin...essna-flap-tracks-inspection-replacement.html
Unless you're experienced, it's a two-man job. I've done it alone numerous times, but you sure scramble around a lot. And you use a lot of tools to try to get those rollers in the right spot to stick the bolt through, and without that tool I made, it's nearly hopeless doing it alone. Pliers or forceps let the bolt twist around, or it pops out and sure enough will fall through a lightening hole in the flap spar and go to some dark corner.