One thing that's been the case on the bus for a while, but that now I think I want to address, is the motor mounts. The stock motor mounts are just rubber pucks with bolts through them. The rubber has shrunk/degraded over time and now the bottom pucks will rotate. This lets the engine shift around quite a bit, especially when going from D to R (and thus the transmission output shaft changing load direction).
Because of the simple construction, it looks simple enough to get polyurethane pucks to replace them. I've sent out for a quote, figuring on 70A durometer level. I couldn't find much for good references on what durometer I should target, and the main thing I've gotten from it is that it depends heavily on the engine you're running. Given that this is a decent sized straight 6 diesel (and thus has strong power pulses), I don't want to get too hard on the mounts. 70A seems like a good place to start and I could look at changing them out if it ends up being too hard.
Another thing I've been looking at is replacing the stock rooftop heat pumps with mini splits. This is commonly done in bus conversions, skoolies, etc., but you see it less often on normal RVs. The rooftop air units are really junk. They're inefficient (and have no standards for efficiency - they don't even have to publish SEER or EER), loud, not super reliable, and the heat pumps quit working around 25F.
I need to think on this more, as there really isn't a good bolt-in setup. The ceiling cassette units that household mini splits use are 24" x 24", which is roughly 6-9" bigger in length and width than the stock ceiling units. Your standard wall mount mini split indoor unit wouldn't work in my RV as literally every higher portion on the wall is covered in cabinets, and we do use them all.
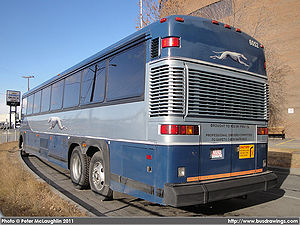
The outdoor units I think are actually easier to handle, albeit requiring some significant modifications. Behind the rear closet in the bedroom there is actually a significant amount of wasted space. If I cut a big hole in the back wall of the RV and then made mounts accordingly, I could mount the outdoor units there. Then cover it up with louvers, similar to either the engine door or like what you find on a "newer" MCI bus:
That's a really big project though, and may end up being something that I not do on this bus.
")