Been there, done that recently.
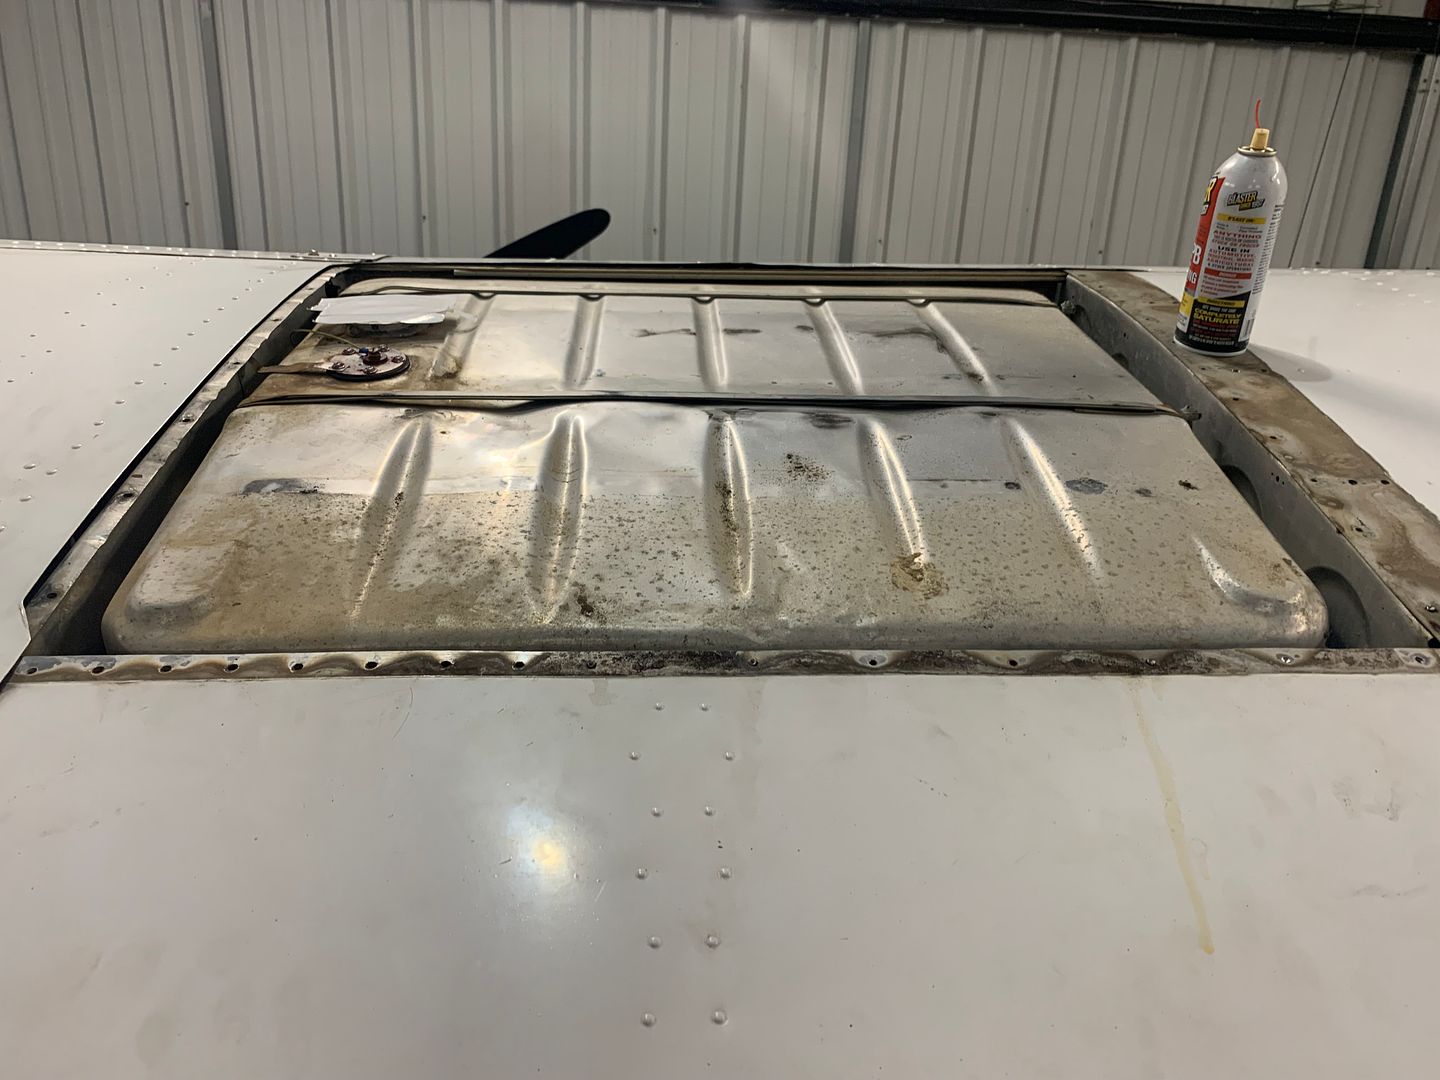
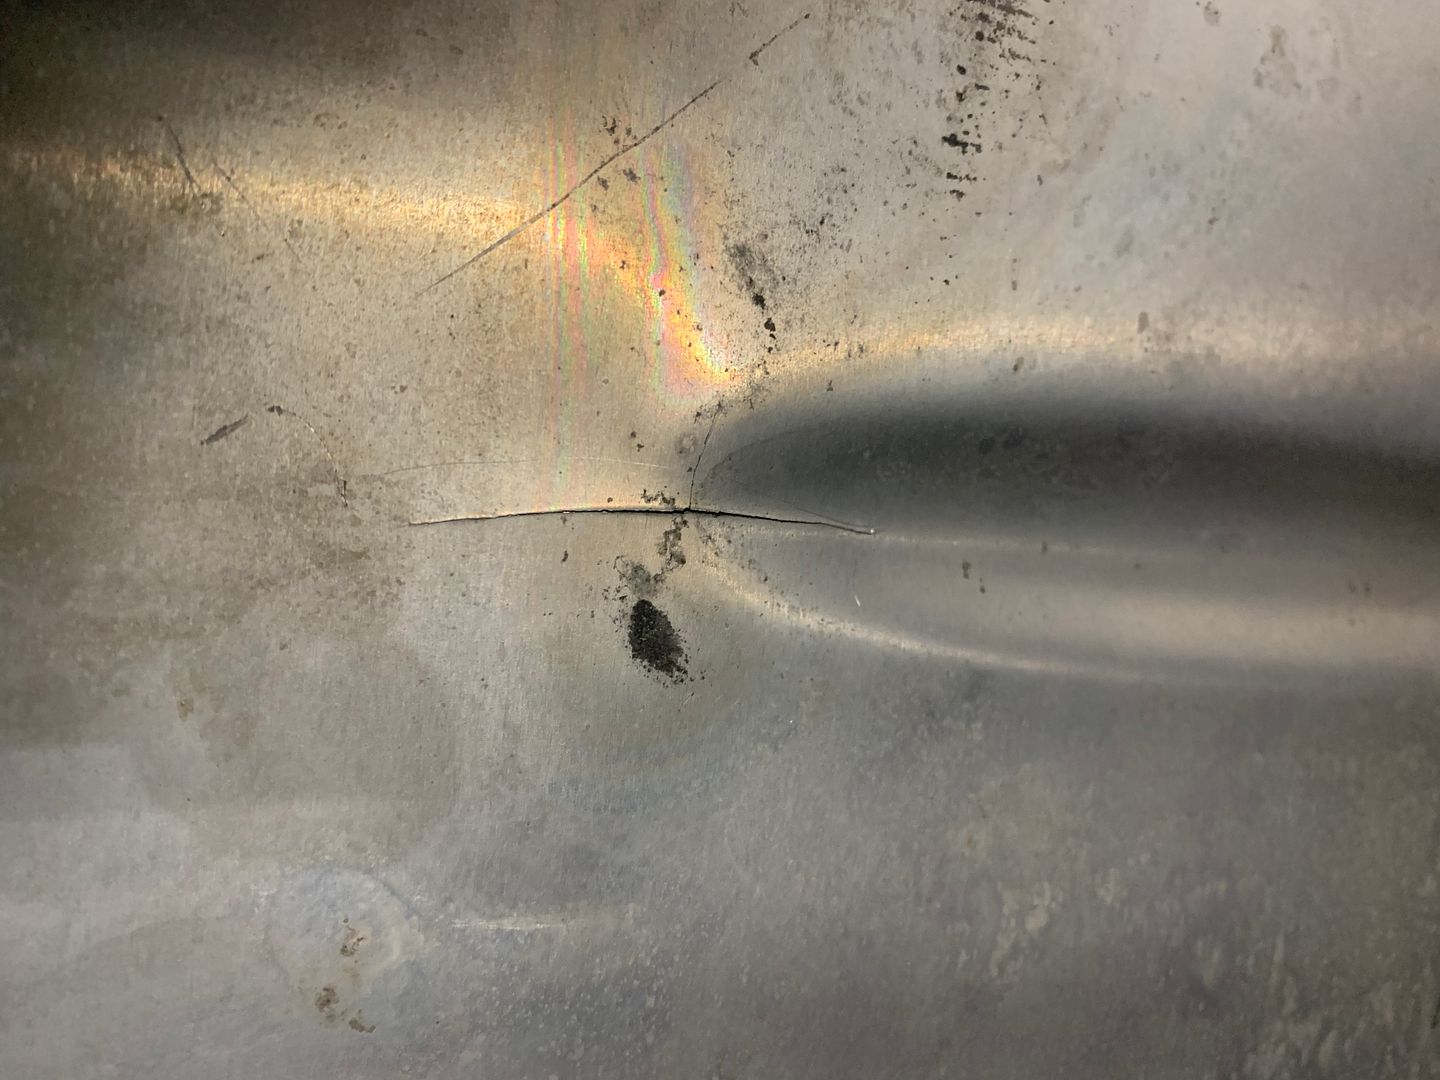
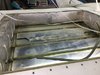
It has been 31 years since this was opened up. The tank was in a tornado and improperly repaired. It lasted 31 years but only 900 hrs of flying.
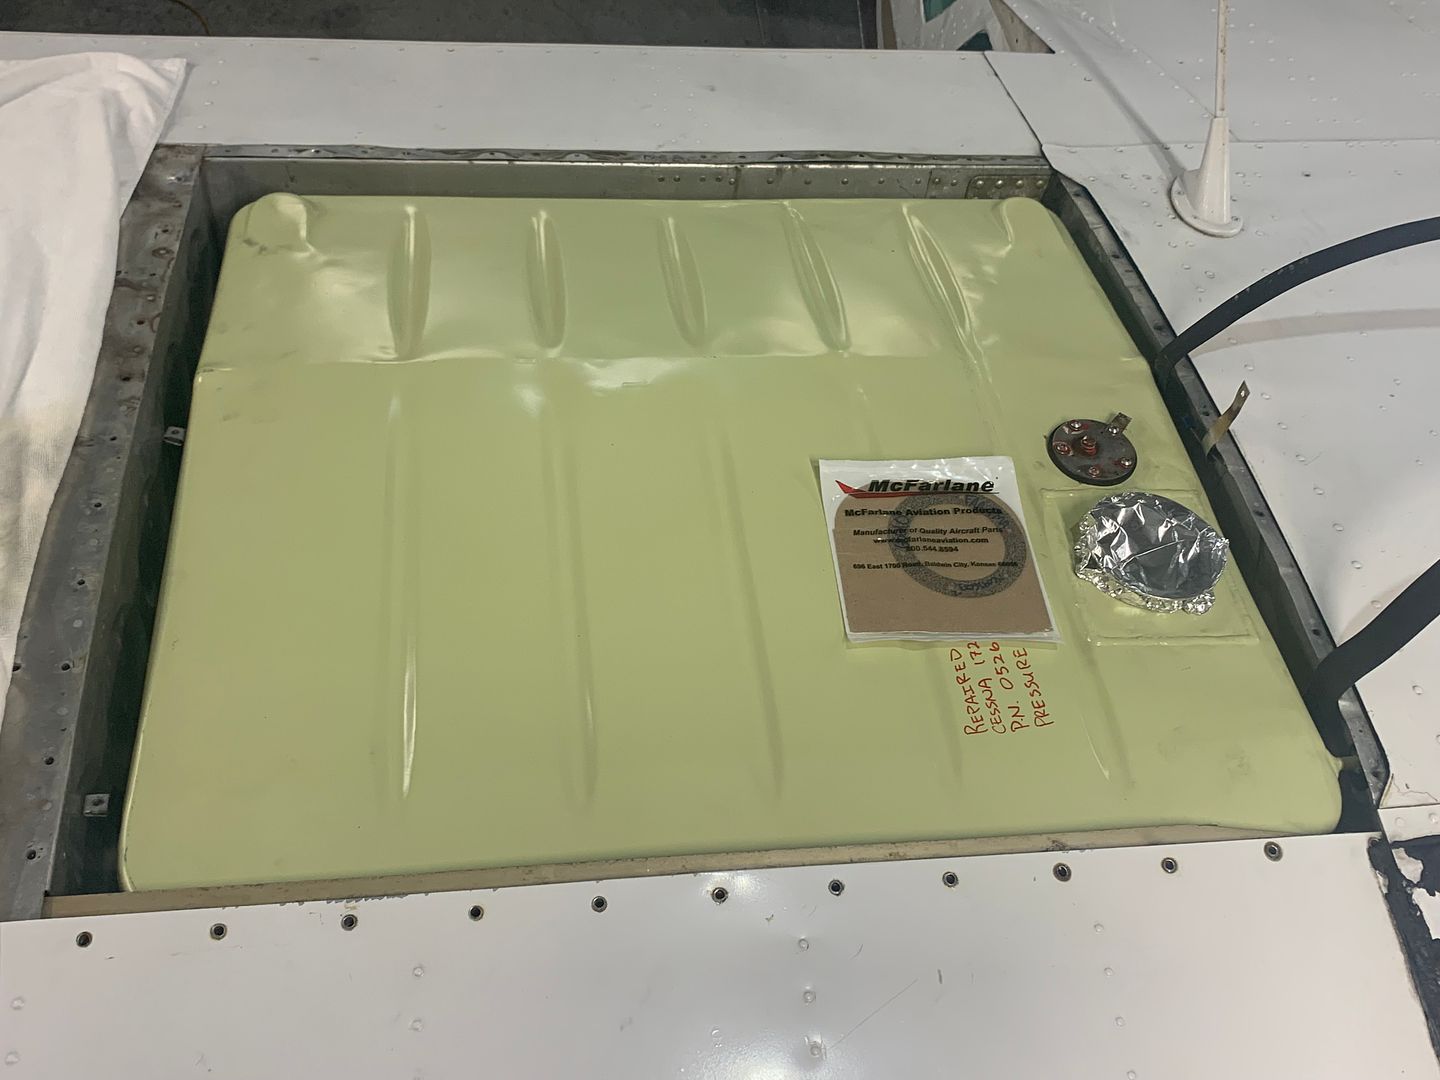
It got new everything, was very expensive even though we did our self's, my IA and I. It was a tough job.
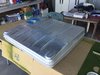
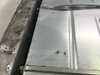
Found a big mud daubers nest in the corner when I opened it up. Used contact cement on the rubber strips, they are not going anywhere. Butch Hartwig shop overhauled this tank, it fit like a glove. My original tank was not repairable.
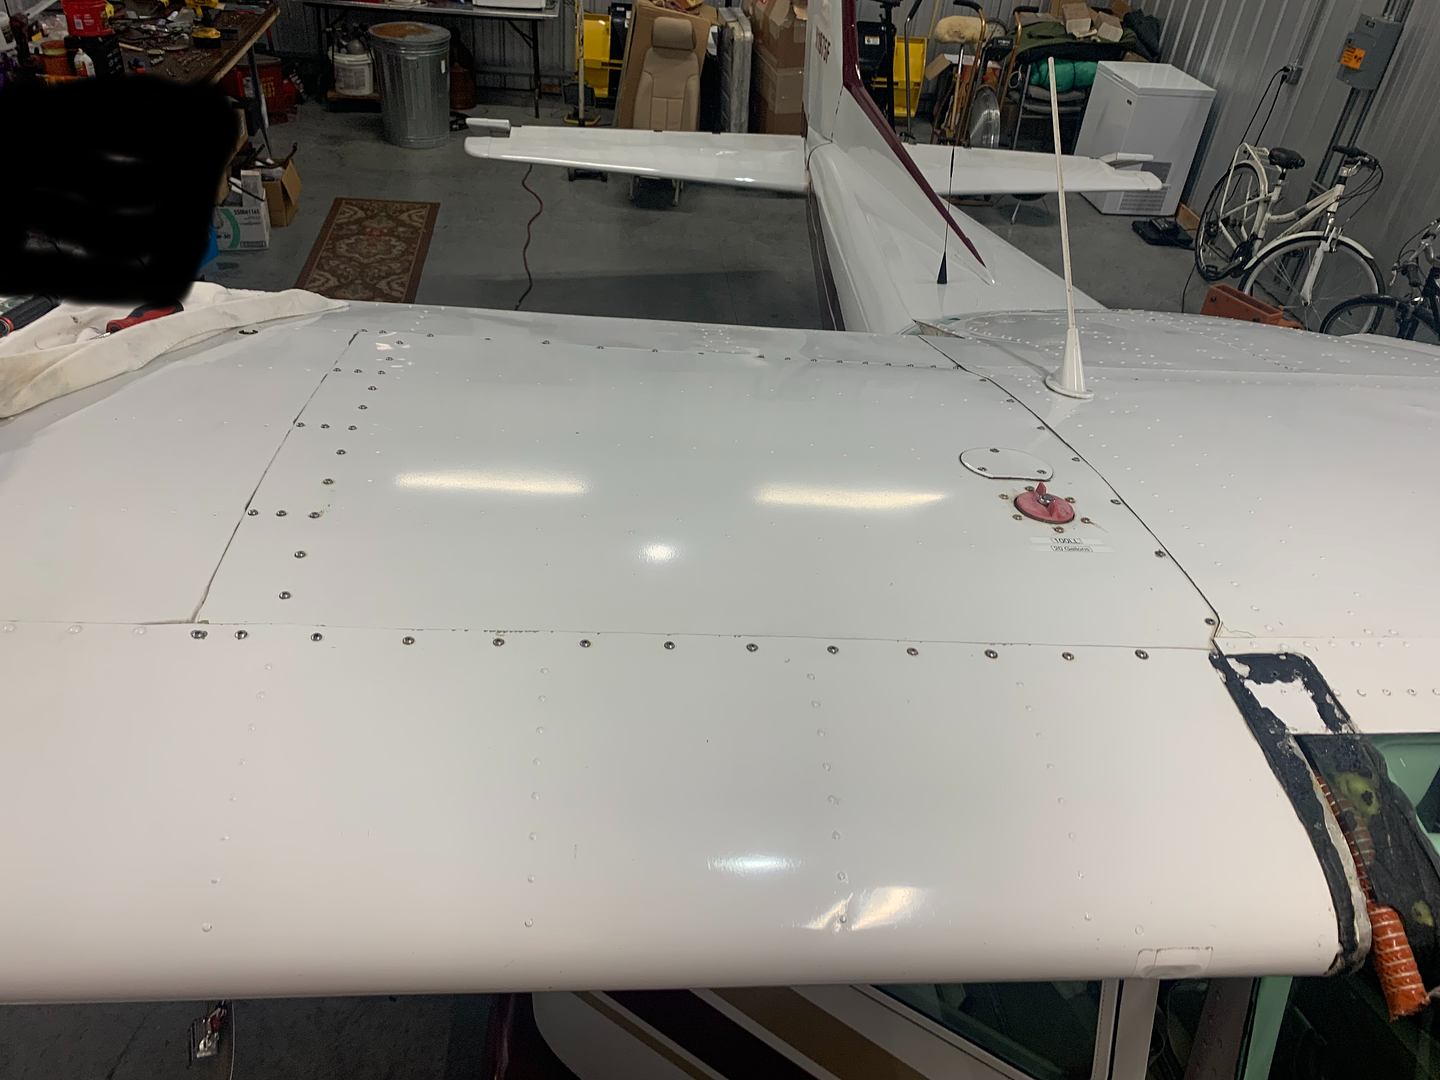
Yes some 172 tanks are very rare and expensive now! Take care of the tanks you have! I have already been working on getting the LH tank cover screws loose for inspection and rubber strip replacement. Now I can get the screws out in 10 minutes to look down in there to inspect on the RH side. Getting the tank out to replace the rubber strips is a whole lot more work.
Stainless structural screws with anti seize on them. My IA suggested I paint them, which I think I will? Only thing is it may make it tougher for the next guy to get them out because I don't plan on taking them out any time soon! LOL