Composite practice kit arrived!

TFulwider

Pre-takeoff checklist
Joined
Jul 29, 2015
Messages
193
Display Name

Display name:
Terry
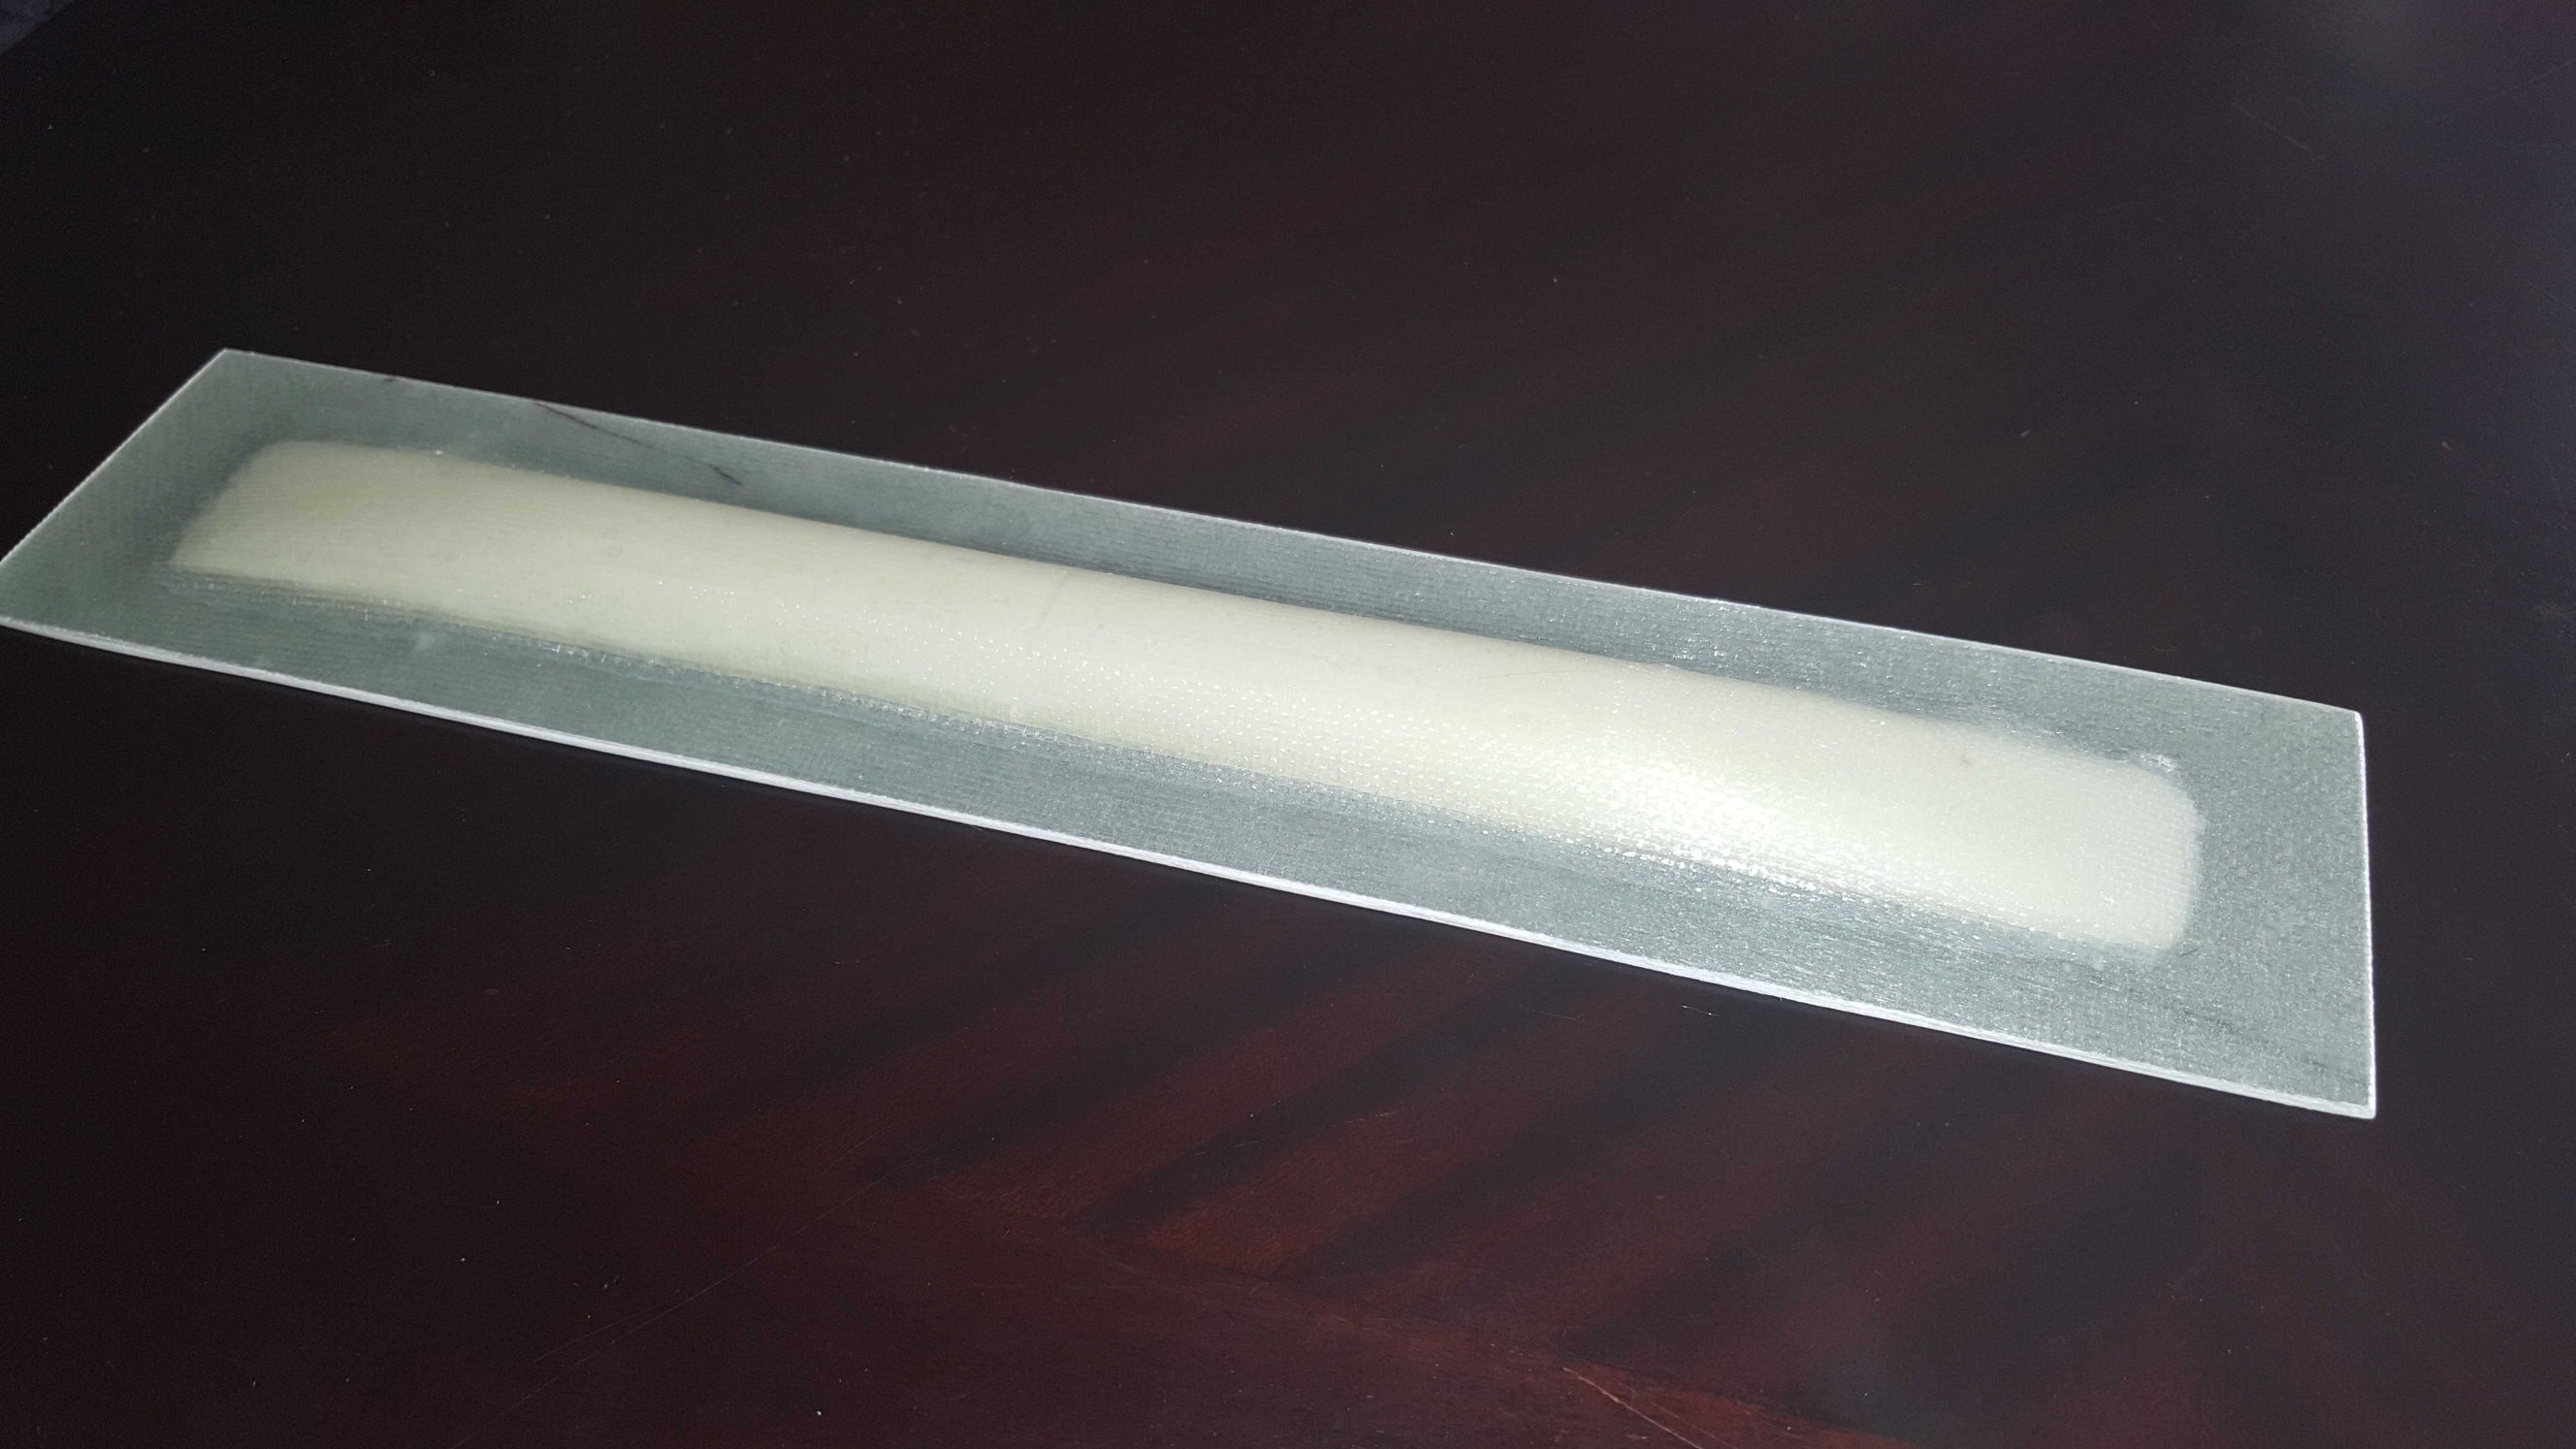
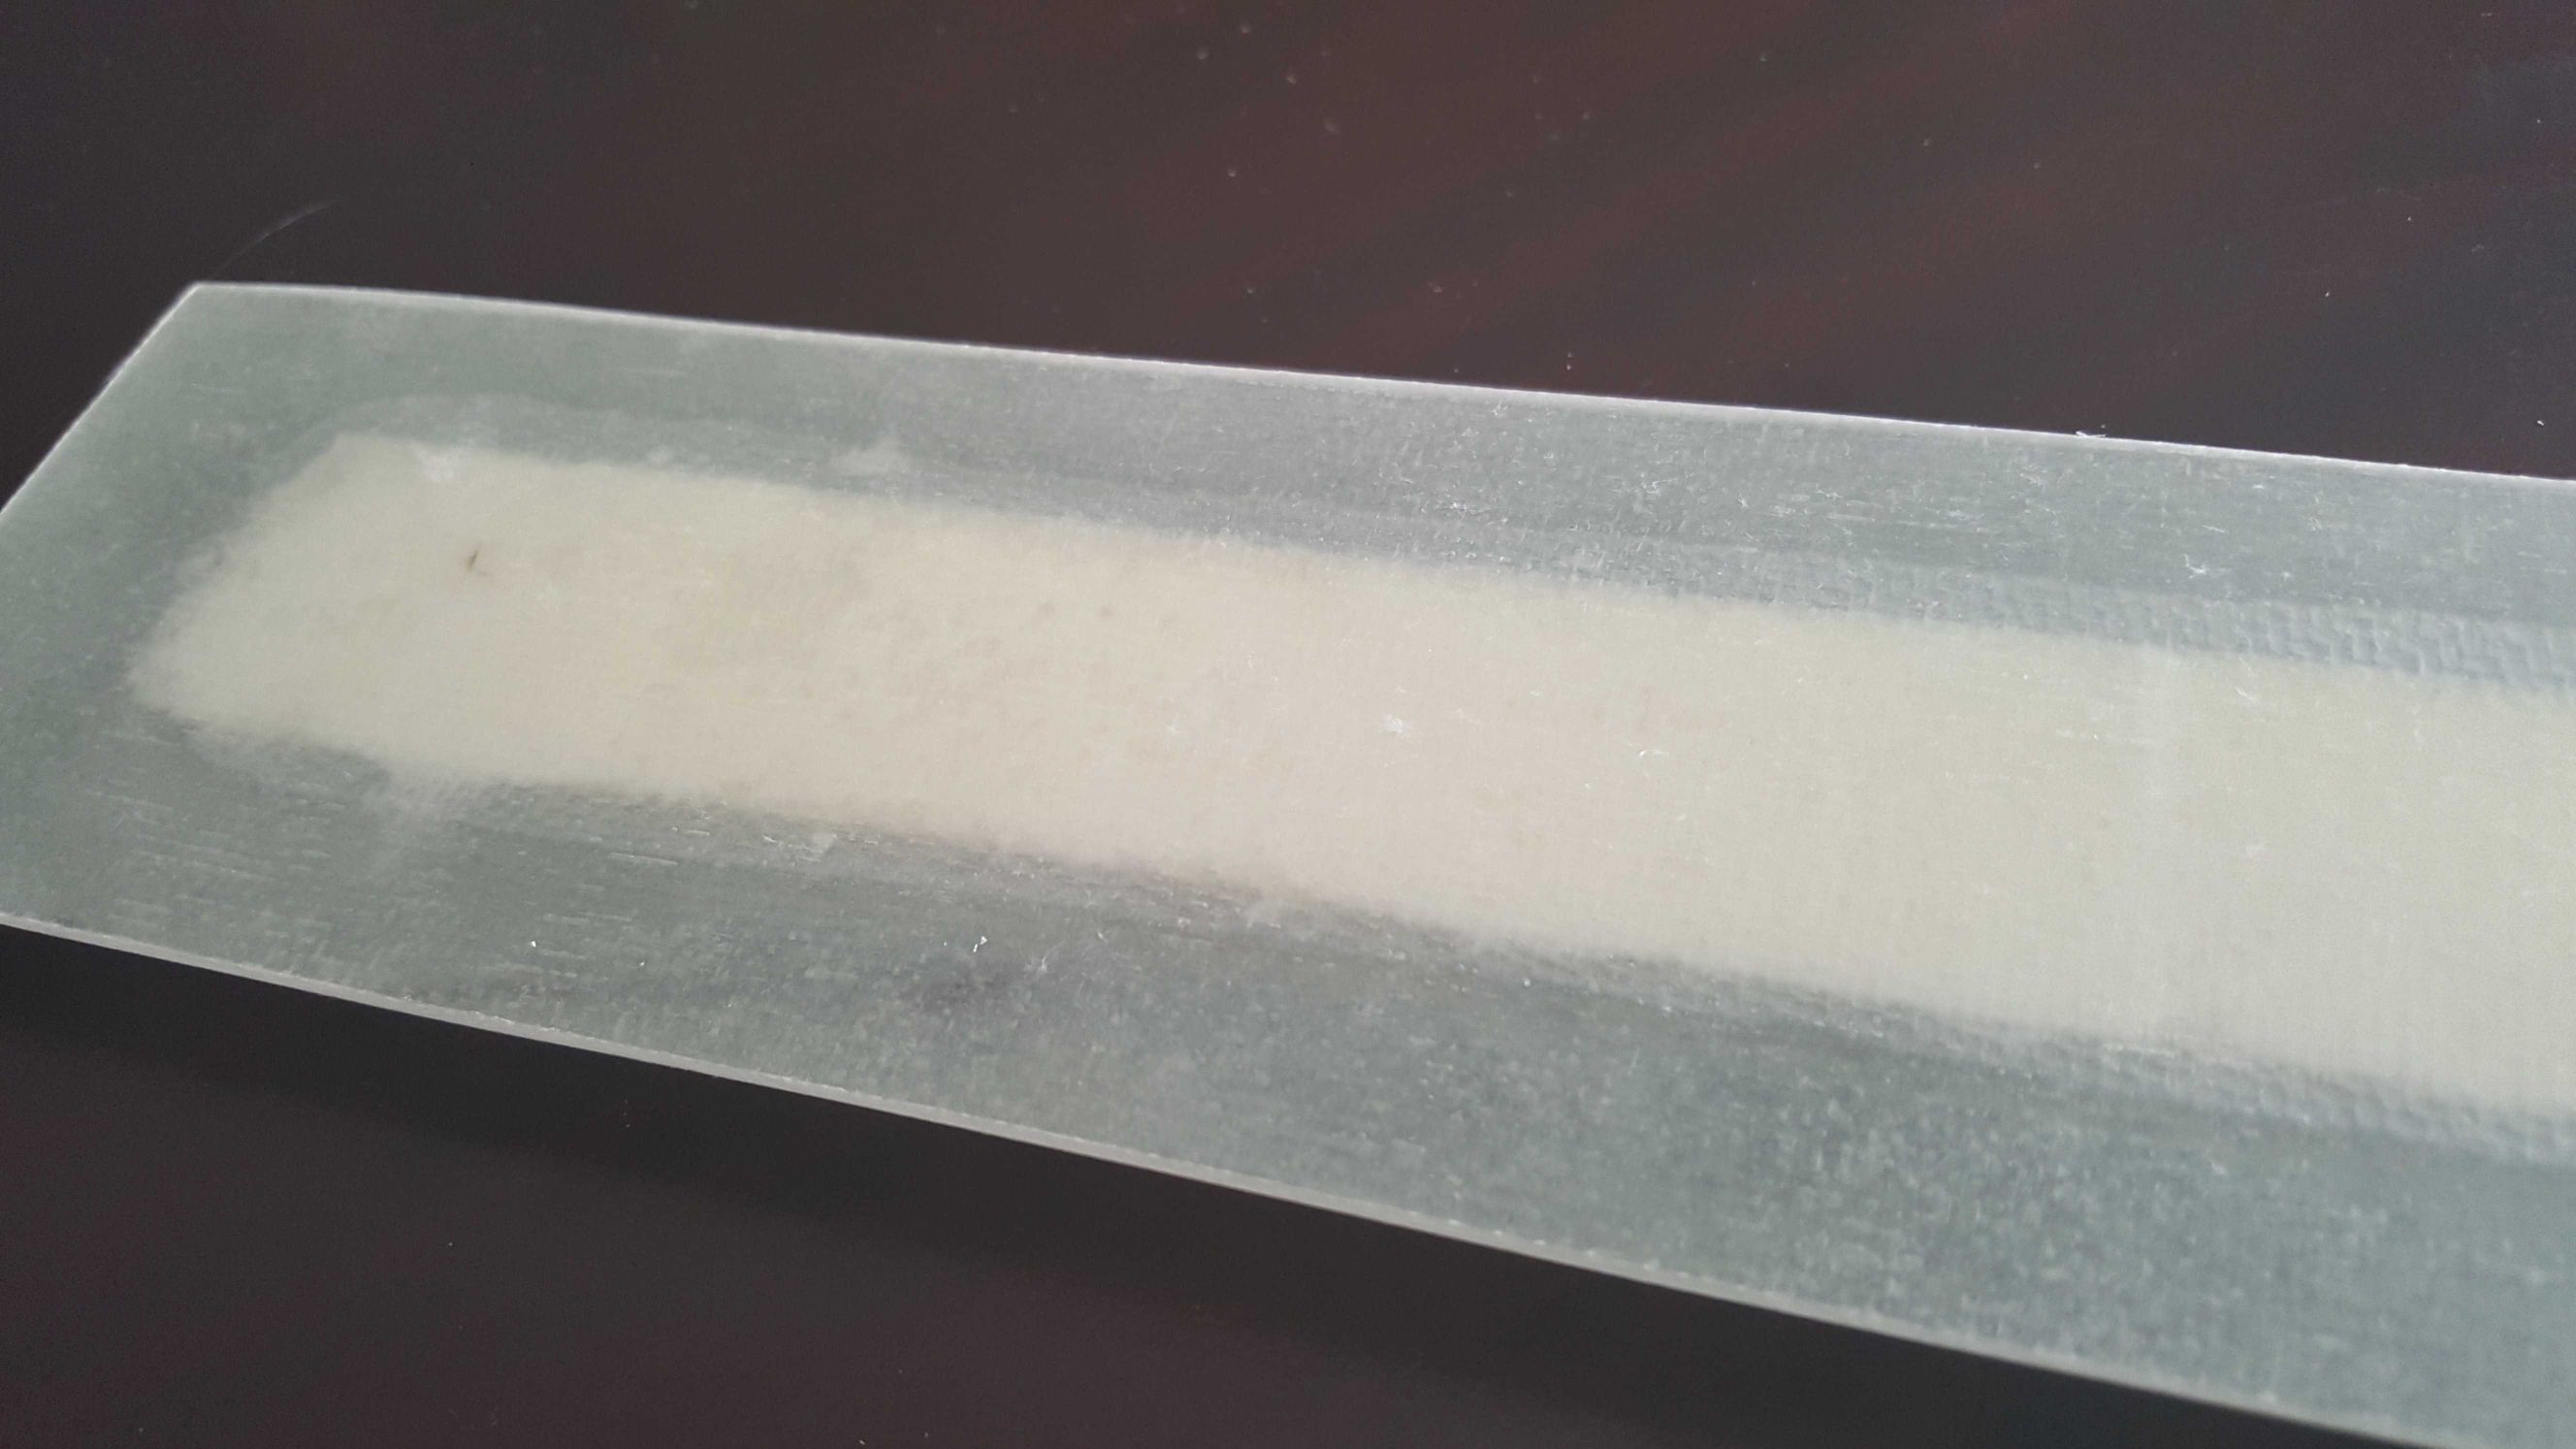
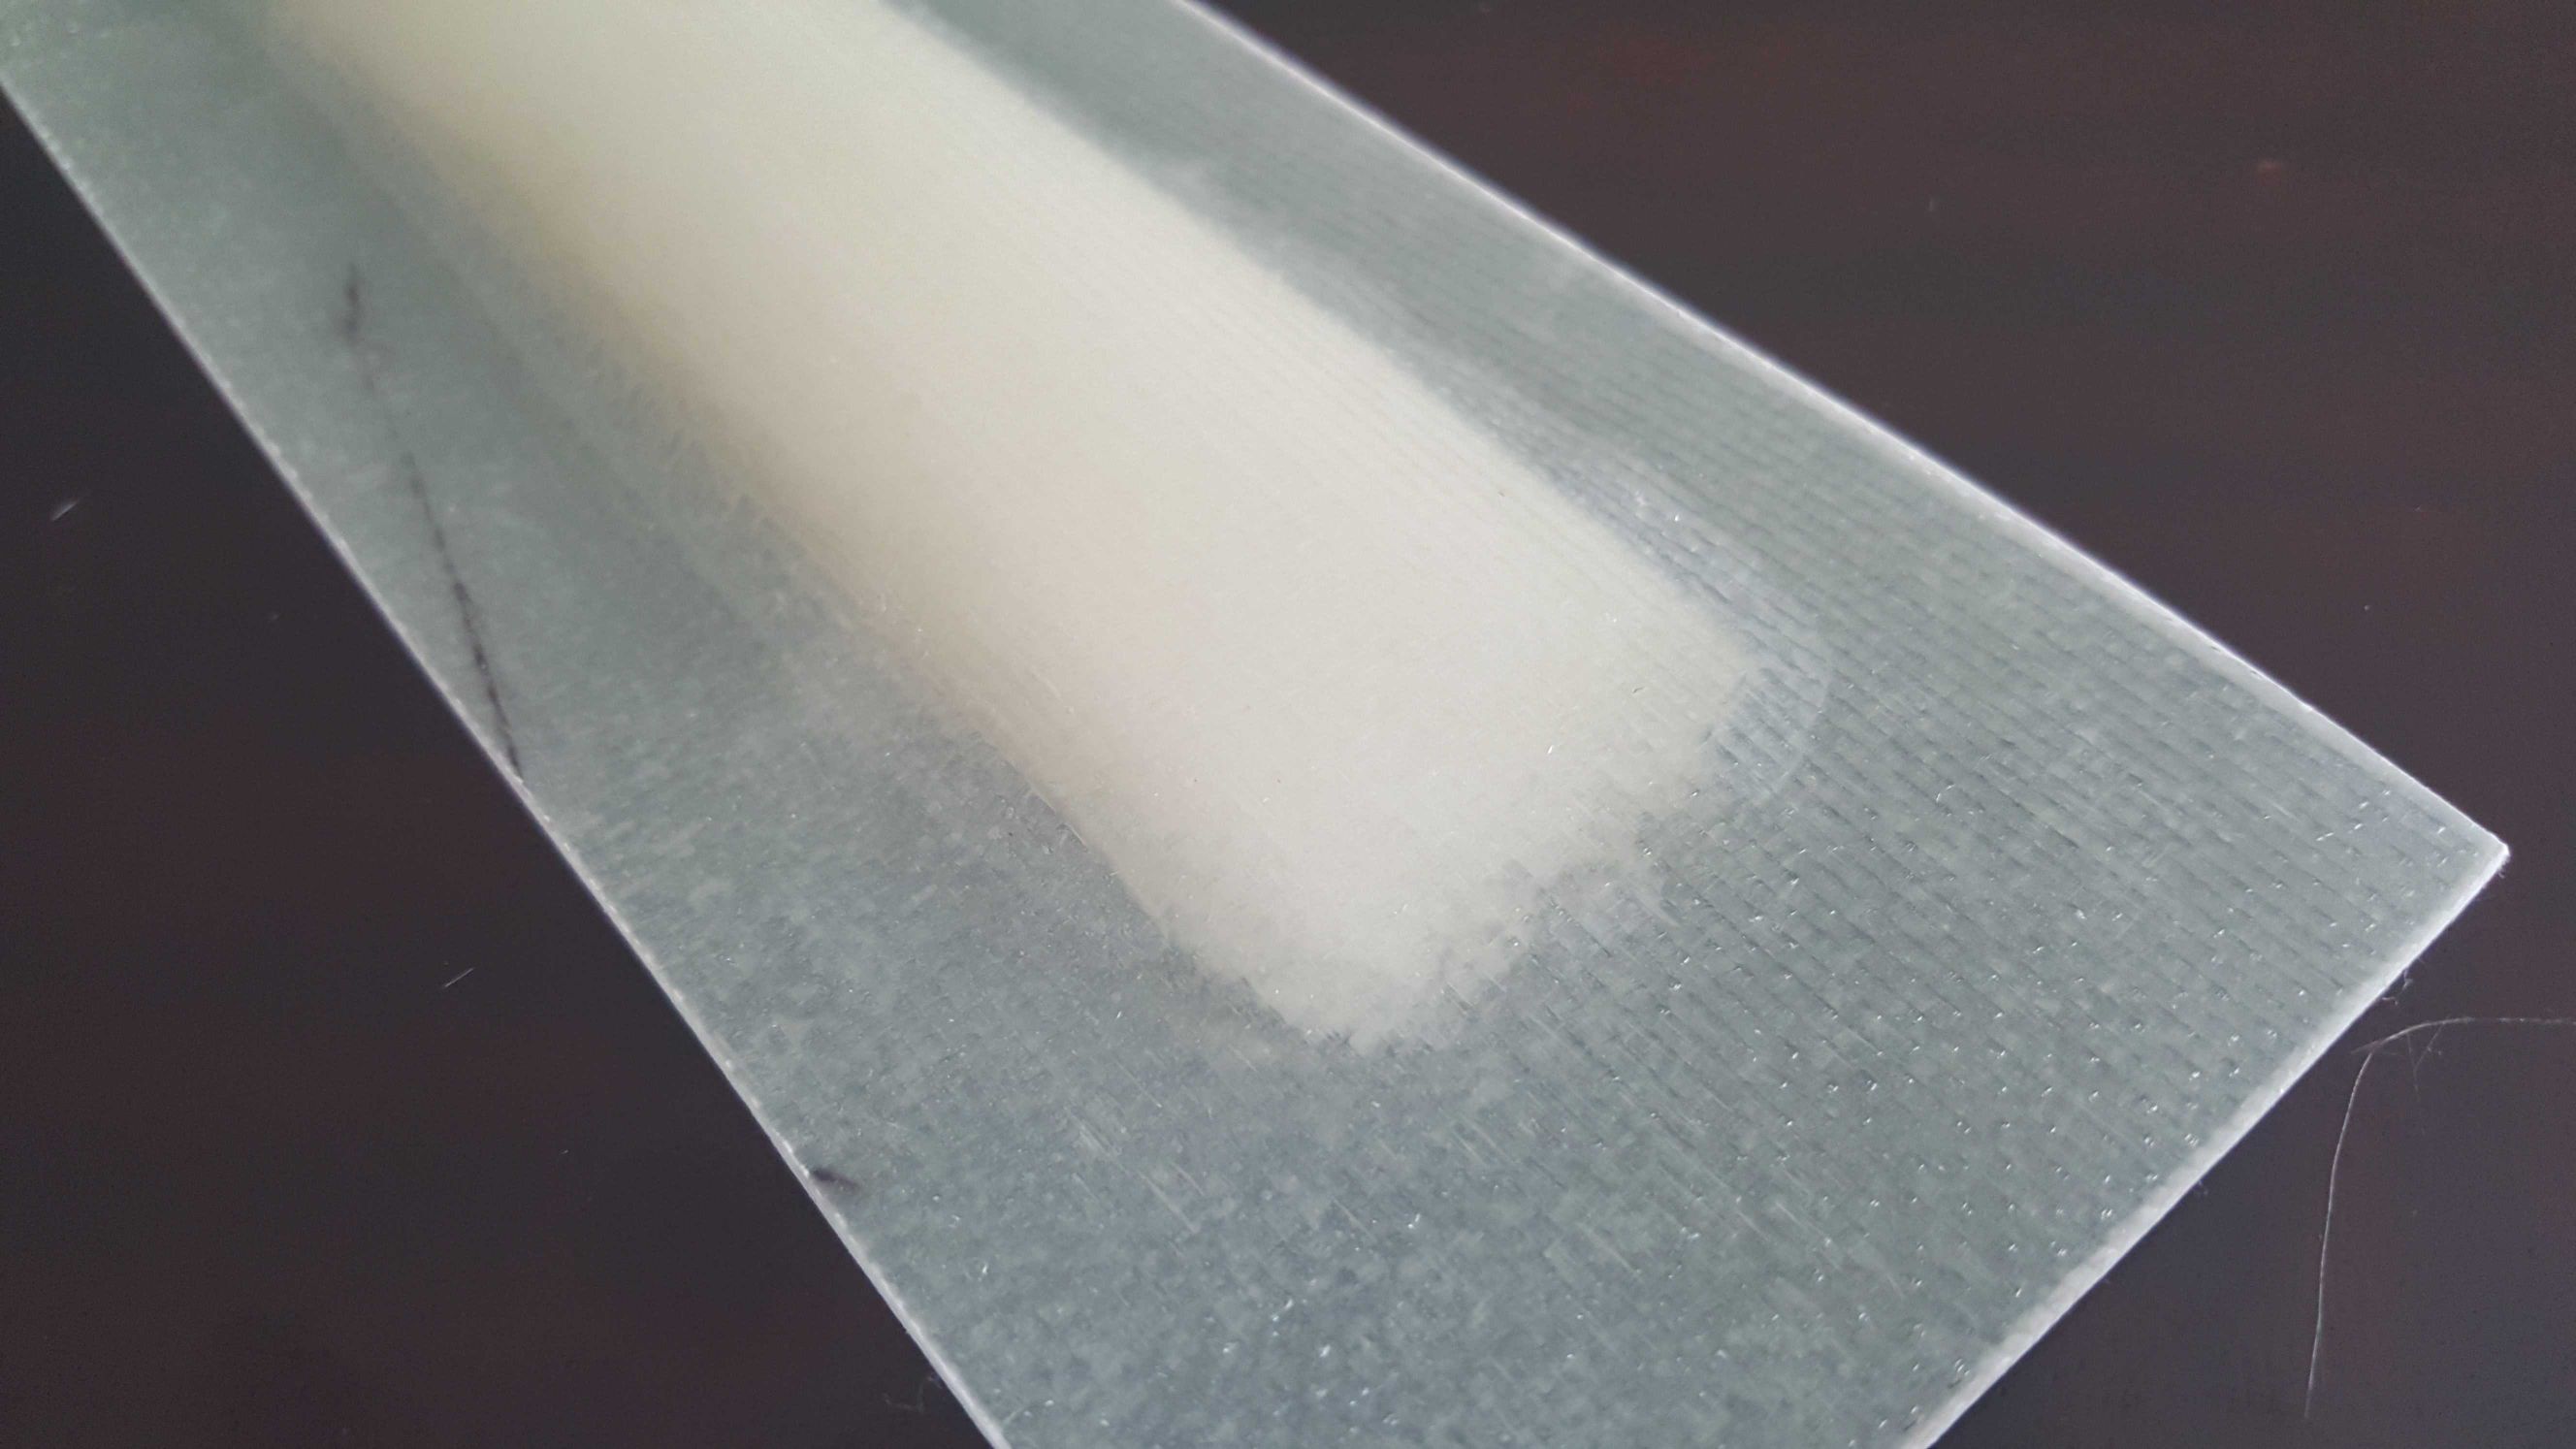
I'm not building actual parts yet so I still can't call myself a plane builder, but it's getting close! Aircraft Spruce delivered my practice kit last night. I was actually giddy opening a box full of fiberglass, resin and foam! It'll be a week or two before I have a big enough block of time to sit down and focus on it, but it I am excited to get going.
 
Long-EZ-N26SB-0073.jpg
 
I have carbon fiber floor boards and side panels in my Cub. That stuff makes my skin crawl when I have to trim it or cut holes. I need to lay up a mold for a CF nose bowl and it gives me the itchies just thinking about it.
 
I have carbon fiber floor boards and side panels in my Cub. That stuff makes my skin crawl when I have to trim it or cut holes. I need to lay up a mold for a CF nose bowl and it gives me the itchies just thinking about it.

That's one of the things that makes me a bit nervous. I've read about the technique for years but I'm wondering if I'll actually enjoy the process.
 
NOT a plane, but... Spent every weekend last summer re-glassing the entire back/transom/stingers/floor of my boat. Buy LOTS of gloves, get some decent goggles with good ventilation, and prepare to hate fiberglass shards. Was not as hard as I had thought, but forethought/planning is definitely key to not wasting time and materials.
 
Love Long-EZs. I did plenty of fiberglass work on my RV-10. Besides the obvious fairings and cowl, the doors and cabin top are fiberglass too, still nothing compared to a composite plane. I found the fiberglass cloth typically used in aircraft applications do not produce shards and is pretty easy to work with--lots of info out there on tips and techniques--there's also a few EAA how to videos online as well. The biggest issue, assuming no epoxy allergies, is the dust. It will get produced in copious amounts and gets everywhere-- a mask is a must.
 
By chance have you been following the adventures of Ary Glantz on YouTube ? He has very good build channel going on for a Longeze.
 
I've definitely been following Ary. His videos are amazing.

I've been thinking about building a Long EZ for about 7 years now. I should've started back then so I'd be flying now!
 
That's one of the things that makes me a bit nervous. I've read about the technique for years but I'm wondering if I'll actually enjoy the process.
I'd like to say "Don't be". But different people are affected in different ways.

I've never had a problem with itching from working on fiberglass airplanes. Carbon Fiber occasionally makes me itch if I've used coarse sandpaper. Other builders won't walk into their shop without long sleeves, long pants and gloves because of itching.

You just never know.

And then there's the allergy potential. Some people get rashes from the epoxy fumes.

It's good to get some exposure now before you get fully involved in the project.
 
I finished the first part of the kit which was three test coupons, 6" square with four plies of bid. I think I like it so far!

Couple of lessons learned. The biggest one being the use of masking tape. I had read in several different places that if you put masking tape on your cut line it will keep the edges from fraying. It was true! Everything stayed tight together and didn't fray at all. Unfortunately the masking tape was impossible to remove without stripping the fibers off the ends. I ended up cutting the edges off. It was supposed to be a 7" square so I lost an inch.

One coupon was supposed to have too much epoxy, one too little and the third just right. The goal is to be able to inspect the pieces and spot areas that are too lean. I'm not sure I got it right. One definitely has too much epoxy, but I can see what I think are white flakes in both of the other squares. I think it may just be the fibers and the way they sat on the wax paper. I'll figure it out as I go along.

Next up is the "confidence beam." Just a short piece of foam wrapped in fiberglass that should be strong enough to hold my weight. We'll see!
 
I never taped the BID. Some of the rolls I bought over the years had tape and it made a mess. Just use good, SHARP Wiss Industrial Shears and you'll get nice, clean cuts. Some prefer the rotary cutters but there will be times when you need to cut BID or Triax away from a mat so you'll need the shears anyway.

"Wax paper"? You typically want to avoid wax paper or cups. the wax from products like that can come loose and get in the epoxy. Not good. The only wax I ever used was a paste wax as a mold release.
 
i can't speak for composite foam core construction but there is quite a bit of fiberglass work on the RV-10. Over the last year I've become continually more comfortable messing with the stuff. Can't say enough about being organized and as meantioned have good scissors and/or rotary cutter. I also have containers for micro, cotton flex, milled fiber and cabosil. Then I go through a mess of gloves, cups and stir sticks.
 
"Wax paper"? You typically want to avoid wax paper or cups. the wax from products like that can come loose and get in the epoxy. Not good. The only wax I ever used was a paste wax as a mold release.

The book said to lay the wax paper on your workbench and lay the 4 layers up on top of it. Then once they cure you can pull the wax paper off and check your pieces. I had heard of bad reactions from using waxed cups in mixing, will the wax paper adversely affect the layup when used this way?
 
Waldo at KBFI.jpg.png Use clear visqueen. Doesn't stick and doesn't contaminate the layup. I use heavy visqueen on my bench over a sketch or full size drawing of the shape of the layup I want. put a second piece on top of the last layer and squeegee the whole thing to remove excess epoxy and then rotary cut the shape. Leaves you with a nice clean piece with plastic on both sides that peels off easily so you can handle it or remove one side and apply to a part. Don't forget the peel ply if you want to avoid excess sanding to add to it later.
 
Last edited:
The book said to lay the wax paper on your workbench and lay the 4 layers up on top of it.

I've been working with fiberglass for 1600 hours now. Use painters' plastic or visqueen. I prefer the painters' stuff, as it is a little thinner and more transparent.
 
Great information, thanks guys!
 
Great thread. Hijack here... I'm building a small part (8" x 8") and made a closed cell foam (home insulation board) mold for it. The part is trapezoidal, which an acute angle that will be inside the part. What can I use to "seal" the rough sides of the foam so I can easily remove the foam block from inside the part? Will painter's plastic or visqueen allow me to do that?
 
Great thread. Hijack here... I'm building a small part (8" x 8") and made a closed cell foam (home insulation board) mold for it. The part is trapezoidal, which an acute angle that will be inside the part. What can I use to "seal" the rough sides of the foam so I can easily remove the foam block from inside the part? Will painter's plastic or visqueen allow me to do that?

Probably not the best method, but when I had to do something similar, I covered the foam with masking tape, and then applied wax to the tape. Had no problem removing it.

BTW... The part was not painted.
 
Great thread. Hijack here... I'm building a small part (8" x 8") and made a closed cell foam (home insulation board) mold for it. The part is trapezoidal, which an acute angle that will be inside the part. What can I use to "seal" the rough sides of the foam so I can easily remove the foam block from inside the part? Will painter's plastic or visqueen allow me to do that?
Duct tape or clear packing tape.

play at 2x speed...
 
We use packing tape (clear plastic stuff) to be removable. Works just like the visqueen. I made baffles for the cylinders on an old cylinder after taping it with packing tape and it popped right off, several times.
 
The book said to lay the wax paper on your workbench and lay the 4 layers up on top of it. Then once they cure you can pull the wax paper off and check your pieces. I had heard of bad reactions from using waxed cups in mixing, will the wax paper adversely affect the layup when used this way?
For this, I wouldn't worry about it. But if it was for a structural aircraft part, I wouldn't use wax paper.
 
Last edited:
The practice beam was a nightmare from top to bottom. My wife likes to keep the house pretty cold so I decided to do the layup in the garage. We're in Alabama so it was warm. I figured that would help the epoxy flow nicely. I used a halogen work light to light up my work space. See where this is headed?

I made it through the first three flat plies when I noticed that my epoxy cup was getting warm and the layup was starting to thicken. The heat from the garage and the light was causing the epoxy to kick off quickly and exotherm in the cup. I picked up the pace to try and make it work. I had to mix up slurry to cover the foam piece. The consistency was right but it started to thicken soon after starting to spread it across the foam. It went from runny syrup to peanut butter in minutes.

I couldn't get the BID to stay tight to the edges of the foam. I'm not sure if that was because of the epoxy setting or something else. The result was an air bubble that almost surrounds the entire foam piece.

I've learned two things from this. First, West epoxy with the 206 hardener doesn't have a long pot life. There is a 209 hardener that is approved for structural use and greatly lengthens the cure time. Second, temperature is huge! I was happy with the way I could see if the cloth was too wet or dry so I guess that part was helpful to learn.

If this was an actual part for the airplane I'd reject it.
be73c9e182ac7629b9fd464274b3f6ae.jpg
52f354abe29e1cfd5dda64daed260e27.jpg
d4fef3803fd5de9baa2ede7d8d92efb6.jpg
 
Thats gotta be frustrating. But during during a real build, you won't be using West Systems for anything other than occasional non-structural work. Actually, I didn't use any West Systems product except for their 410 filler.

The epoxy that I used had a pot life of two hours and for big layups is used a slower curing epoxy that had a pot life of FIVE HOURS.

I'm guessing they provided a faster curing epoxy so you wouldn't have to wait as long to handle your work. But the 206 with a 20 min pot life at 70f (in Alabama) isn't what I would want to be learning with.

If you're near the panhandle and want to make the trip to "LA", let me know and I'll let you do some real layups. :D
 
All I've used in my recent fiber-glassing career has been West Systems with 206 hardener. Even though I've gone through close to a gallon of the stuff (Most of it sanded back off) I don't have a very robust storage, measuring system. I use their 'pre measured' pumps which most of the time work great. I get the consistency I want and it doesn't cure for hours. However there have been several times where I can only assume the pumps get the mix wrong and within 10-15 mins it starts smoking and cures up fast. I can usually tell when this is going to happen because you can feel the endothermic heat through the cup. My work around lately has been I do a single 'pump' serving and stir a good minute before adding any micro or anything else.

Now if I was building a composite plane I would change up my system. First I would build some sort of cabinet to store my epoxy part containers. Nothing complex, just something with a few light bulbs for heat to keep everything warm. I would also set up a scale system to measure each part by weight. This would ensure a consistent and precise mix of the epoxy.
 
The exotherm has everything to do with the faster hardener and ambient temperature. And the bigger the batch the faster your hand will start to smoke! If it's over 70 or 80° use the 209 hardener to save your palm.
The cabinet is an excellent idea when it's cool out. Insulated plywood box with one light bulb and a thermostat do the trick.
I use a triple beam scale to mix small batches and, occasionally, verify the West pumps. They are amazingly accurate and it's easy to see when they are not pumping smoothly. Sometimes you need to waste a small bit to make sure they are primed. But they won't make a bad mix that exotherms because of it.
From West:
Epoxy became very hot and cured too quickly
POSSIBLE CAUSES & SOLUTIONS
Batch too large.


  1. Mix smaller batches.
  2. Transfer the mixture to a container with more surface area immediately after mixing.
See Understanding Cure Time under Epoxy Chemistry, and Dispensing & Mixing.

Temperature too warm for the hardener.

Use 206 Slow Hardener or 209 Extra Slow Hardener in very warm weather.

Application too thick.

Appy thick areas of fill in several thin layers.

Here is a cool video of the Long EZ that is pretty motivating. The only comment is the reference to 30,000'. This isn't a normal range by any means but one has been up over 34,000' once!
https://youtu.be/jcrF4nYhxvM
 
Nice thing about working with composites is that bubbles (and many other mistakes) can be fixed, as opposed to scrapping the piece and starting over. In your case, grind out the bubbles, prep and laminate the equivalent number of layers back in there. Be sure to create a smooth transition between the old and the new fiberglass. In other words, you don't want to have just a 90 degree wall, but rather a smooth ramp. Perhaps others with better prose can clarify if necessary.

With practice, you'll find those issues will become far and few between.
 
Thats gotta be frustrating. But during during a real build, you won't be using West Systems for anything other than occasional non-structural work. Actually, I didn't use any West Systems product except for their 410 filler.

I've heard that West with the 209 hardener is approved for structural layups in Cozys and likewise the LongEZ. I assuming that you don't like the way it works? Which epoxy do you prefer?
 
  1. Mix smaller batches.
  2. Transfer the mixture to a container with more surface area immediately after mixing.


How many pumps of the West system would you consider a small batch? I used three and could definitely feel the cup getting hot, especially with the micro balloons added.
 
How many pumps of the West system would you consider a small batch? I used three and could definitely feel the cup getting hot, especially with the micro balloons added.

If you need to make larger batches in warm temps you have to use a slower hardener. Or, as previously suggested, a different brand of products. Remember the general rule is to stir 2 minutes with squared off stick and wipe the side regularly. Have watched many non builders using epoxy stir for 30 seconds or less. Sometimes trying to beat the exotherm.
PS: if you use weight to measure West System note the ratios are slightly different than by volume. They chart it in their web instructions. You can learn a lot about the West System on their web site: http://www.westsystem.com/
 
Unless I'm throwing it down quick I do single pump mixtures.
 
I've heard that West with the 209 hardener is approved for structural layups in Cozys and likewise the LongEZ. I assuming that you don't like the way it works? Which epoxy do you prefer?

For most of the structural work I used E-Z Poxy. Back when I was building, I had a Michael's "Sticky Stuff" pump. Once calibrated for the ratio you need, it dispenses the exact proportions every time (unless you don't use it for a while). If you're doing a large, complicated layup, the slow hardener is a must.

I also built a cabinet out of a quick build cabinet from Home Depot that I lined with foil covered rigid foam. A 100w light bulb with a thermostat kept all the epoxies, paints and adhesives at 75F.

What he said...!
 
For the record, fiberglass is a composite.

Yes I know, as are many materials used in aircraft construction. For the record, in the common vernacular of the E-AB community, the term "composite plane" was coined decades ago and is generally used to refer to a plane that is built mainly from fiberglass or carbon fiber and is used to differentiate it from one built predominantly from, at the time, more conventional materials such as aluminum, tube & fabric,or wood.
 
Back
Top