Before and after interior plane pictures -

Jeffgis12b

Pre-takeoff checklist
Joined
Jan 19, 2014
Messages
104
Location
Liberty,Mo
Display Name

Display name:
Kenny
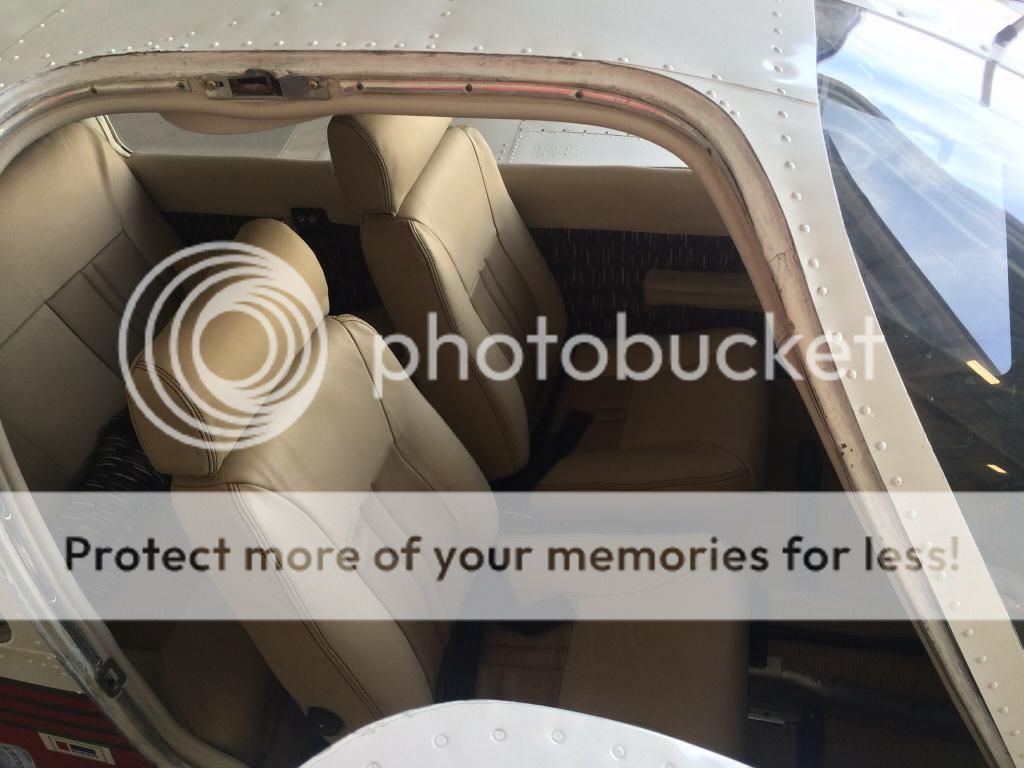
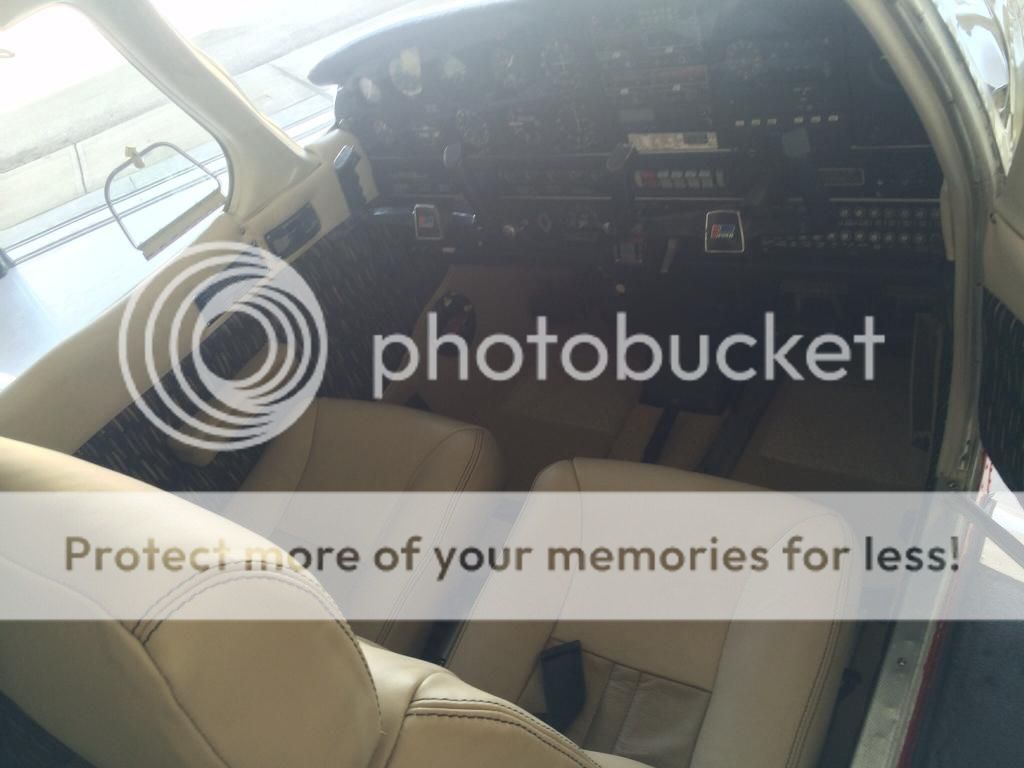
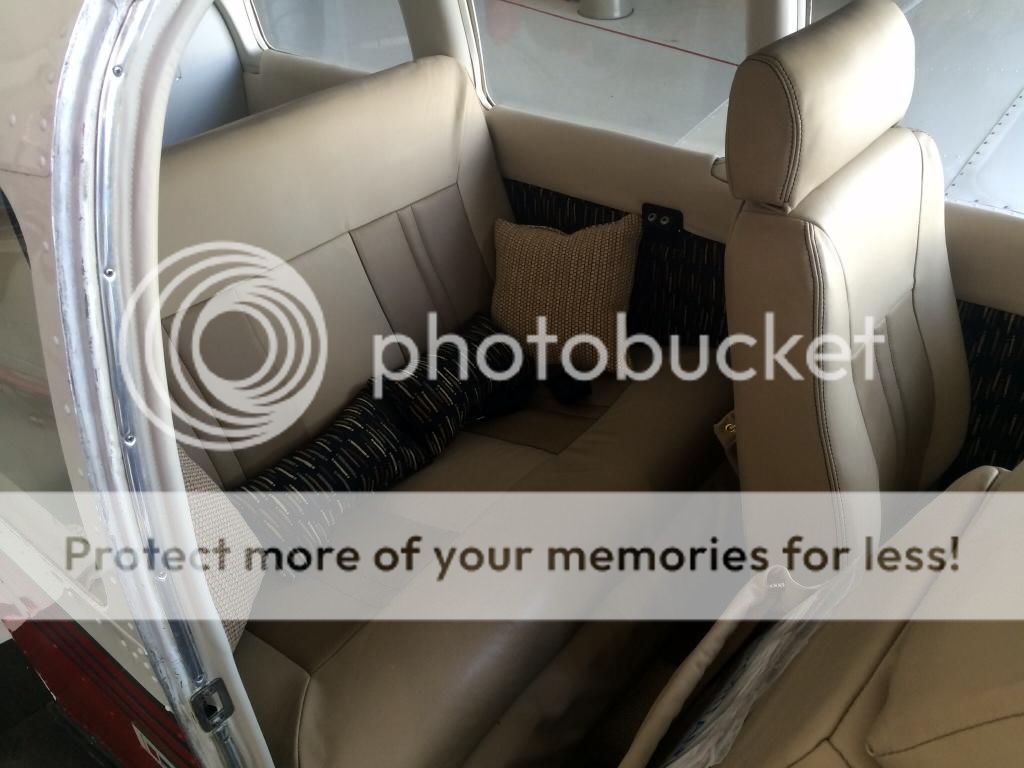
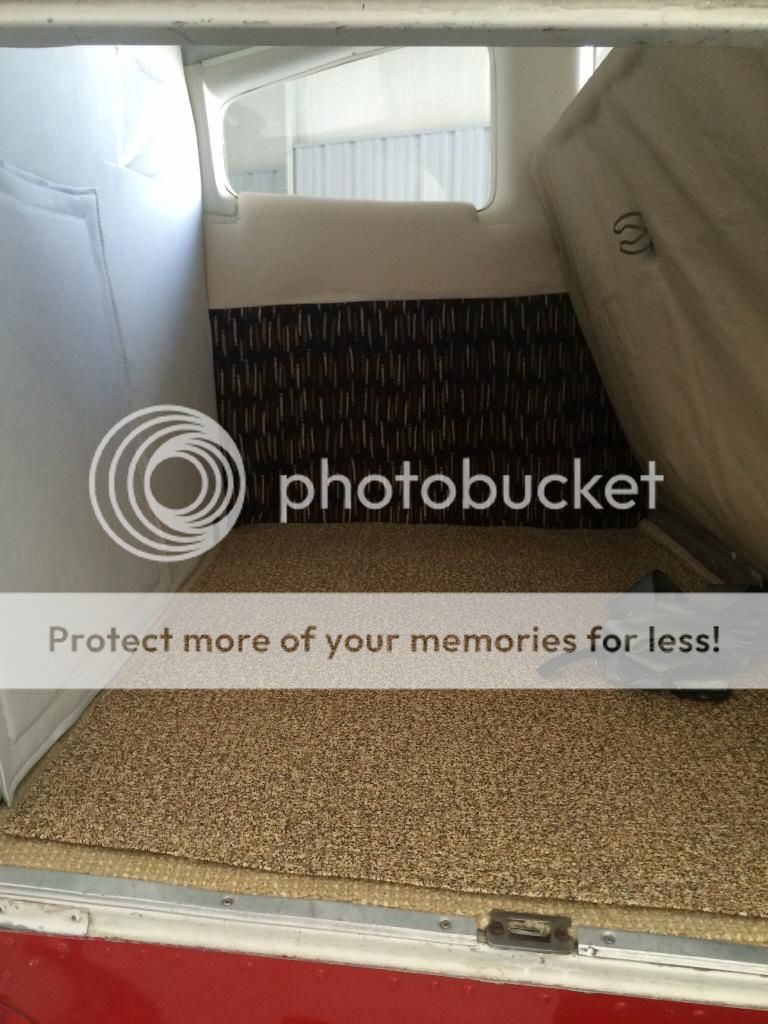
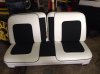
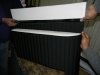
Before and after interior pictures -

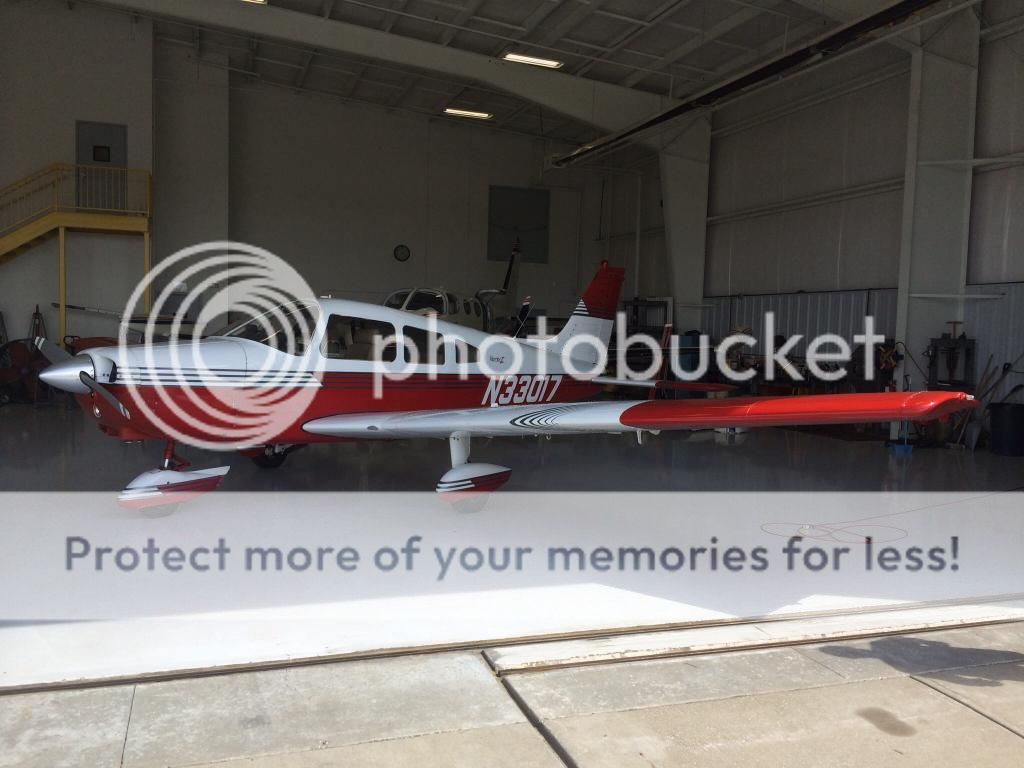
I leaned on many of you for advice when purchasing my first plane back in Feb and with your help I ended up with a great plane to start my PPL training and I receive my PPL in June . I went with overall mechanical condition and history rather then appearance and just planned on making it nicer over time. So I wanted to show how it's transformation is going, it's been a process finding someone that does airplane interior in Kansas City area and one that can actually do all the proper paperwork correctly. I had a lot of shops that said " yea we can prob do airplane seats" only to find out they couldn't do it legally unless I jumped threw some hoops with finding an A&P on my own to help. I wanted someone that could repair and die all the plastic and side panels as well - was looking for more of a one stop shop

Here are some before and after pictures, next will be updating the avionics at some point but the 12-17k is hard to justify for a plane of its value

Just thought maybe someone might like to see the transformation

Out with the old


In with the new


I figured why not put a little work into the exterior as well although it needed the least amount of attention it got a buff and wax job


Last edited:
Can't believe it's the same plane looks great.
 
Wow, that's an impressive difference! What was the net change to useful load, if you don't mind me asking? I'd like to buy something structurally sound and slowly update it (knowing that I'd never get the money out of it on the back end, but planning to fly it for a long time)... but my biggest fear is taking out the old stuff, putting in the new and having it cost me 50 pounds in useful load.
 
Not too bad

FYI a automotive shop can do the work and the paperwork isn't that tuff.
 
I replaced panels, back bulkhead and seats with Airtex as well as replacing the 40 yr old insulation that was worthless. Also had lots of old wiring removed at the same time. Net result was no difference in weight. Had I not removed the old wiring and useless hardware (old Narco crap in the tail) the new stuff including the insulation only added 10 pounds.

That closed cell foam (FAA burn test approved) really makes a difference in cold weather and noticeably quieter.
 
Nice,can't wait to see the new panel,good luck.
 
Nice. I thought interior stuff was allowed as "Owner Maint" under Pt 43? IOW, you can sign it off yourself.
 
That turned out fantastic!


Shane
The Squawk Shoppe
Sent from my iPad using Tapatalk
 
Can you explain / describe the process?

The main thing is having the correct material burn rating certificates. There are many materials that already have it, and there are many industrial labs that can provide them at reasonable costs (25 years ago it was $25, no idea these days.).
 
Weight didn't change much at all - it's important to have whoever does it to find light weight material but not lose it's durability , I feel good about what we did and I feel I got a great price for everything considering she fixed and died all plastic , new headliner and rear bulkhead - obviously all new seat foam and coverings. She surprised me with small stuff like pillows, a matching leather covered memory foam booster seat for incase I have small passengers in the back, removable rubberized carpet cover in luggage compartment , etc.....

She was a little tough to deal with at times and missed her expected finish date by a month due to employee management but that being said overall I am really pleased.
 
If that extra month extended the date from 2 weeks to 6 weeks, then it was done on schedule. One thing I have learned well in the last 25 years whether boats or planes: when given a time for completion, multiply by three to get the real schedule.
 
If I lived in Kansas I would be asking you for her contact info. Henning is right, 3X is a good conversion to use to get real completion time
 
Can you explain / describe the process?


Yeah but I'm Lazy,

Long and short,

Read this

http://www.avweb.com/news/maint/182839-1.html?redirected=1

Find a hot rod shop, check out the rod sites like jalopy journal.

http://www.jalopyjournal.com/forum/...int-bodywork-by-miguel-of-the-lifters.773620/

Find out what materials you need, how much of it and order it yourself, send a sample in for the burn cert (no big deal)

I have never seen a aviation upholstery shop turn out a product that has straight stitching, or detail like a rod and custom shop, which is funny considering the huge price difference.
 

Attachments

  • image.jpg
    image.jpg
    756.6 KB · Views: 46
Last edited:
Fixed it
 

Attachments

  • image.jpg
    image.jpg
    258.6 KB · Views: 51
Thanks :D I know there is a plug in for V-Bulletin that automatically sizes pics.
 
Sorry if my pictures are to big , honestly I just used photo bucket and didn't know how else to do it.

No doubt your seats look great James, actually they are are awesome - I just didn't have the energy to deal with it and I felt like I got a great deal so I went with it , are there better out there - absolutely but she was local and I was able to fly my plane right to her on the airfield and that just made it easy
 
Last edited:
Nice! I might borrow some ideas for my project ...
 
If that extra month extended the date from 2 weeks to 6 weeks, then it was done on schedule. One thing I have learned well in the last 25 years whether boats or planes: when given a time for completion, multiply by three to get the real schedule.

Always exceptions, pleasantly surprised last week with my engine overhaul: "about 3 weeks" turned into eighteen days. Middle of the dollar estimate too!
 
Looks great! I plan to do my interior similar to that someday.
 
Back
Top