Mark Nestler
Pre-Flight
- Joined
- Dec 6, 2020
- Messages
- 36
- Display Name
Display name:
NESTIAM
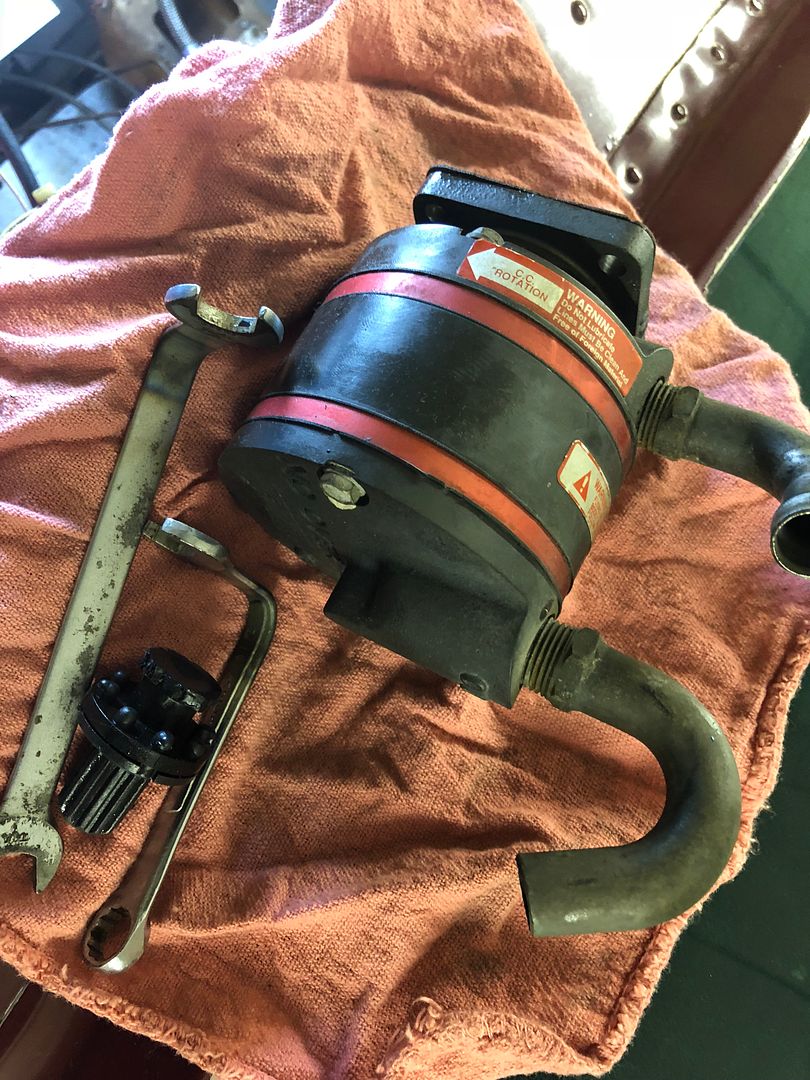
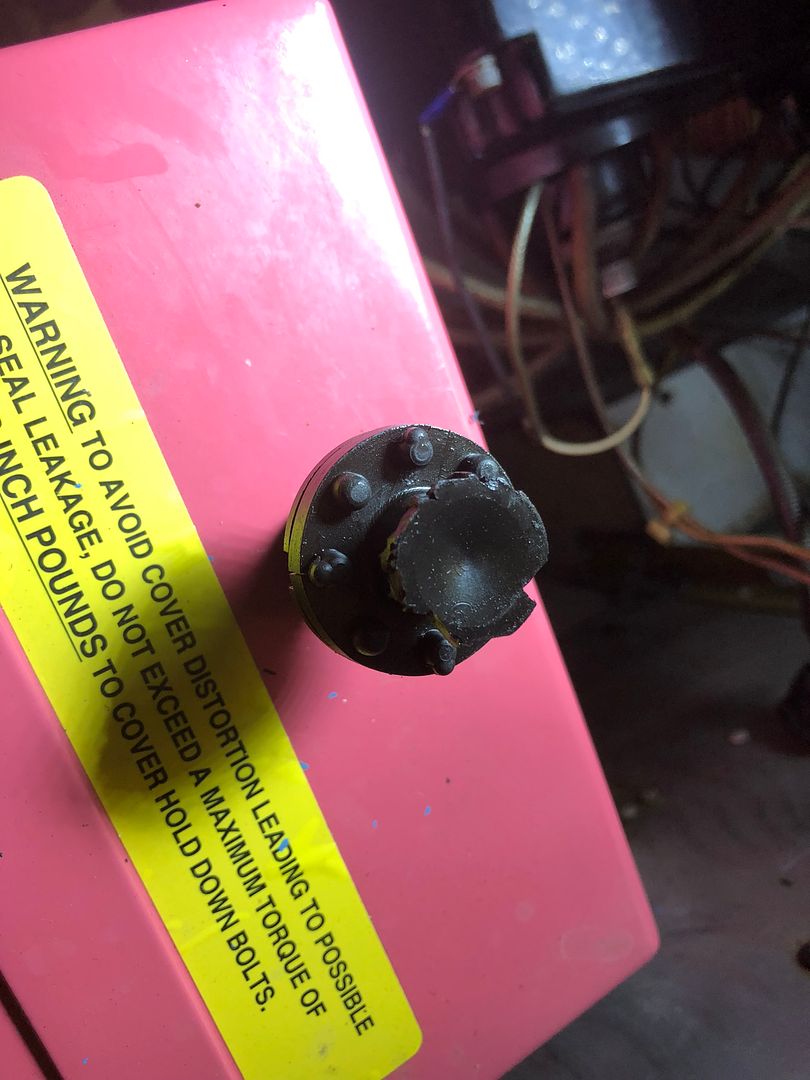
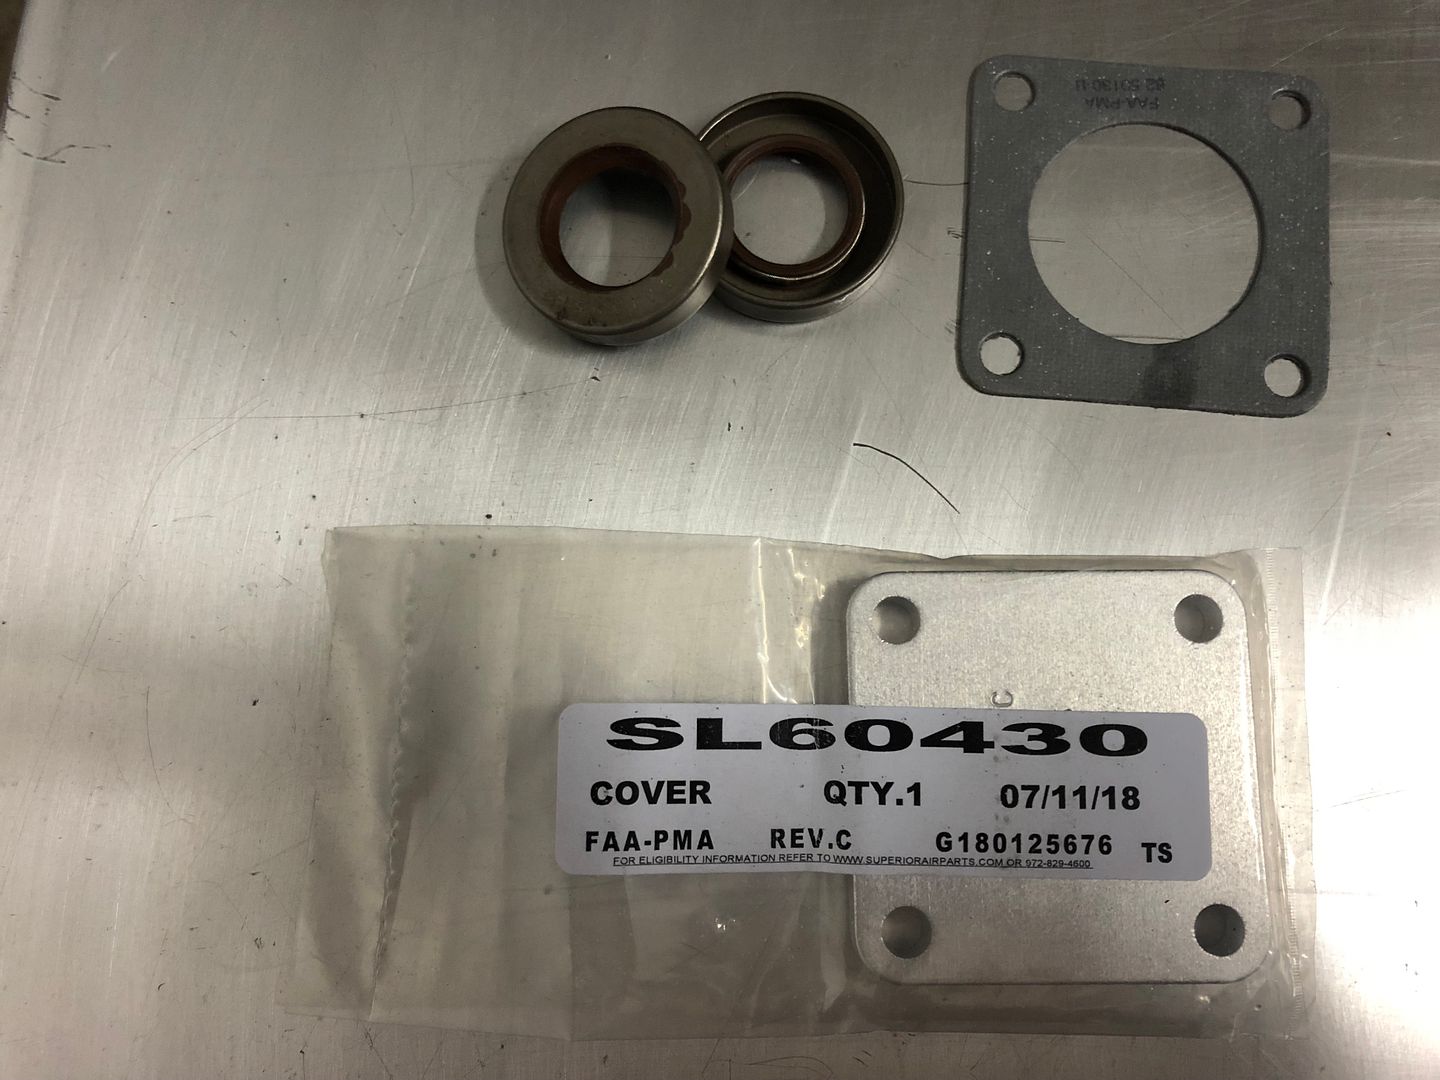
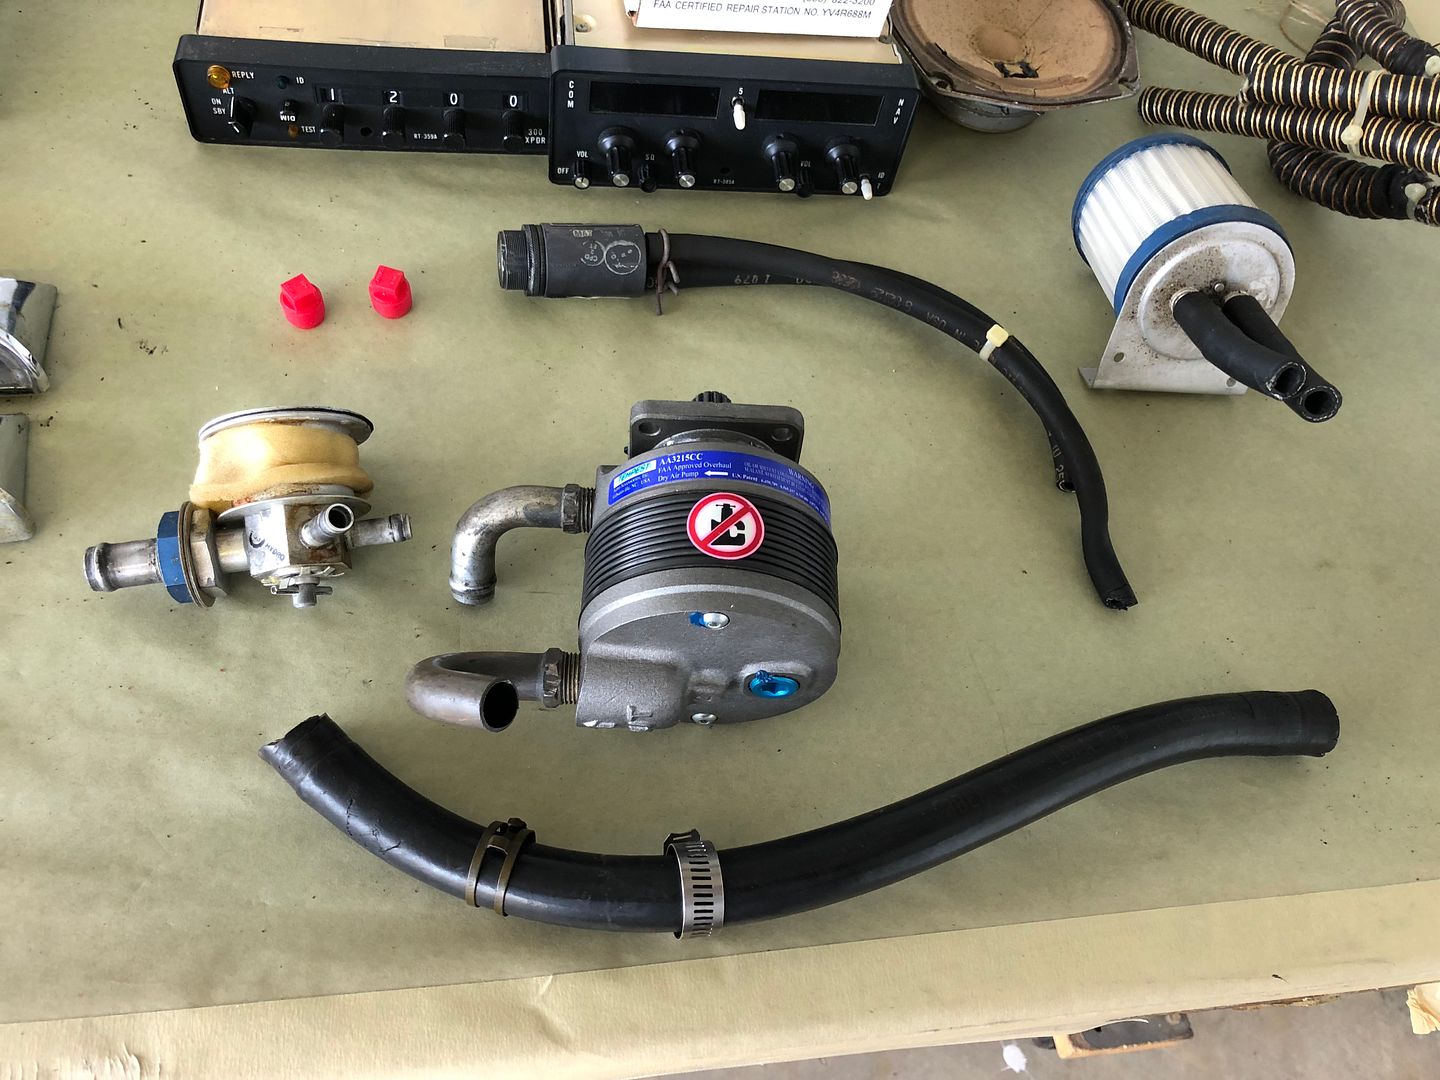
Does anyone have any experience with the removal of the Dry VAC pump on a 1975 Grumman AA5 Traveler (Lycoming 0-320 E2G)? Can the pump be removed without removing MAGs/Oil filter or any other accessories? Do I need to purchase the special VAC pump removal tool or will ratchet open ended wrenches do the job? (Pump failed and it will be reinstalled with a new pump).