Domenick
Pattern Altitude
- Joined
- Sep 11, 2019
- Messages
- 1,811
- Display Name
Display name:
Domenick
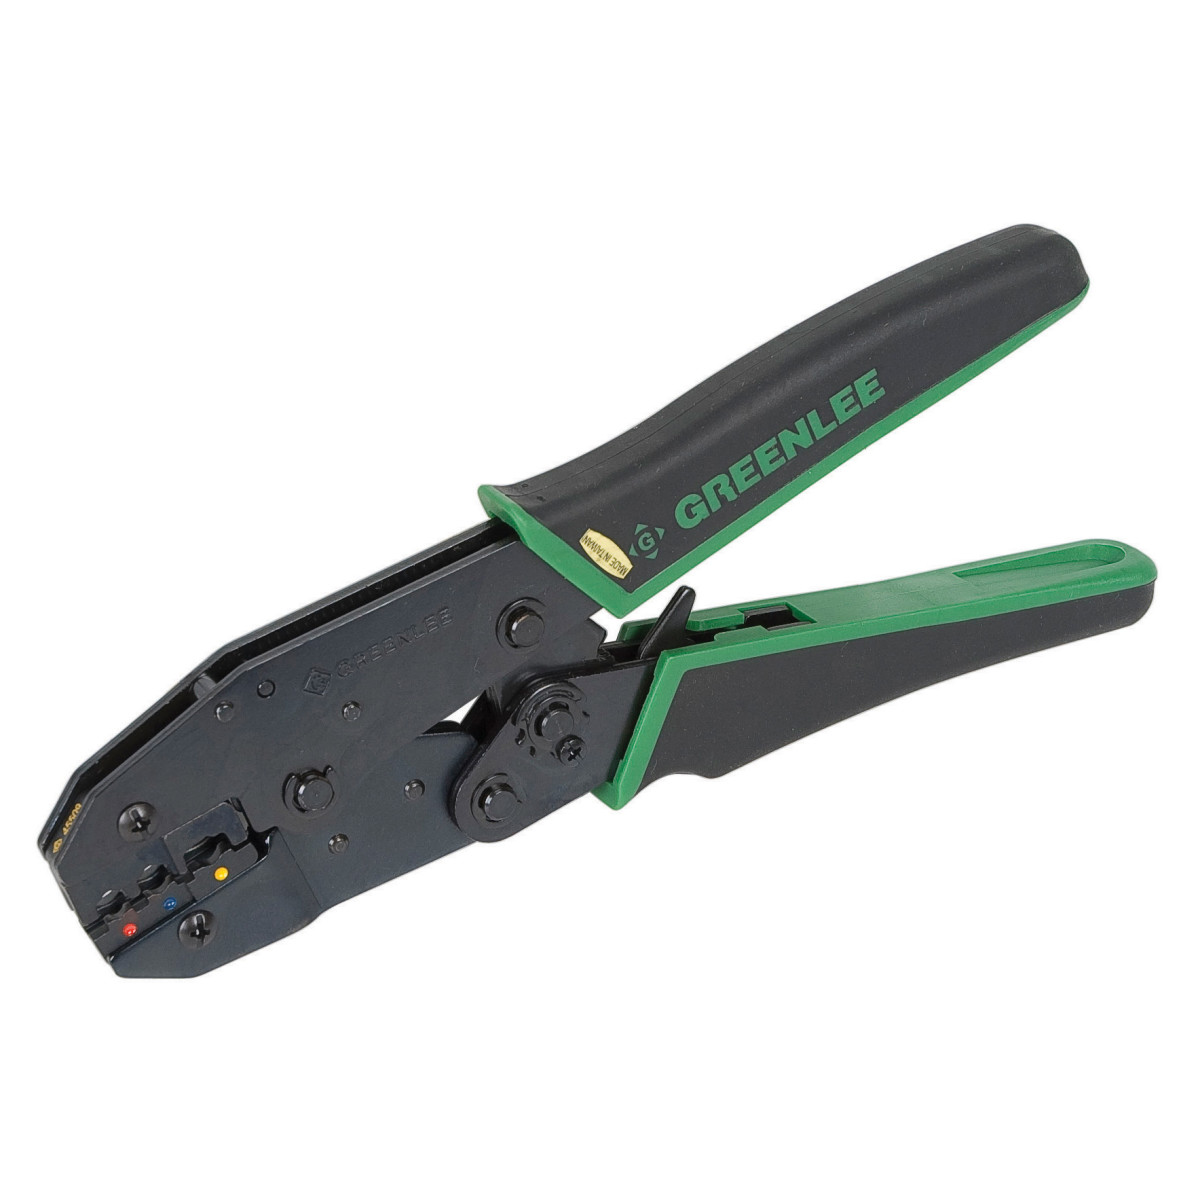
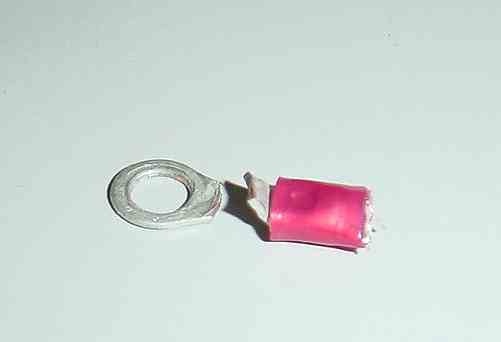
Anyone want to share a link to an appropriate crimper? I have a cheap smasher, and a few ratcheting for various special purposes like molex connectors. I would like a proper general purpose one.
(I'm a tool and flashlight whore).
(I'm a tool and flashlight whore).


")